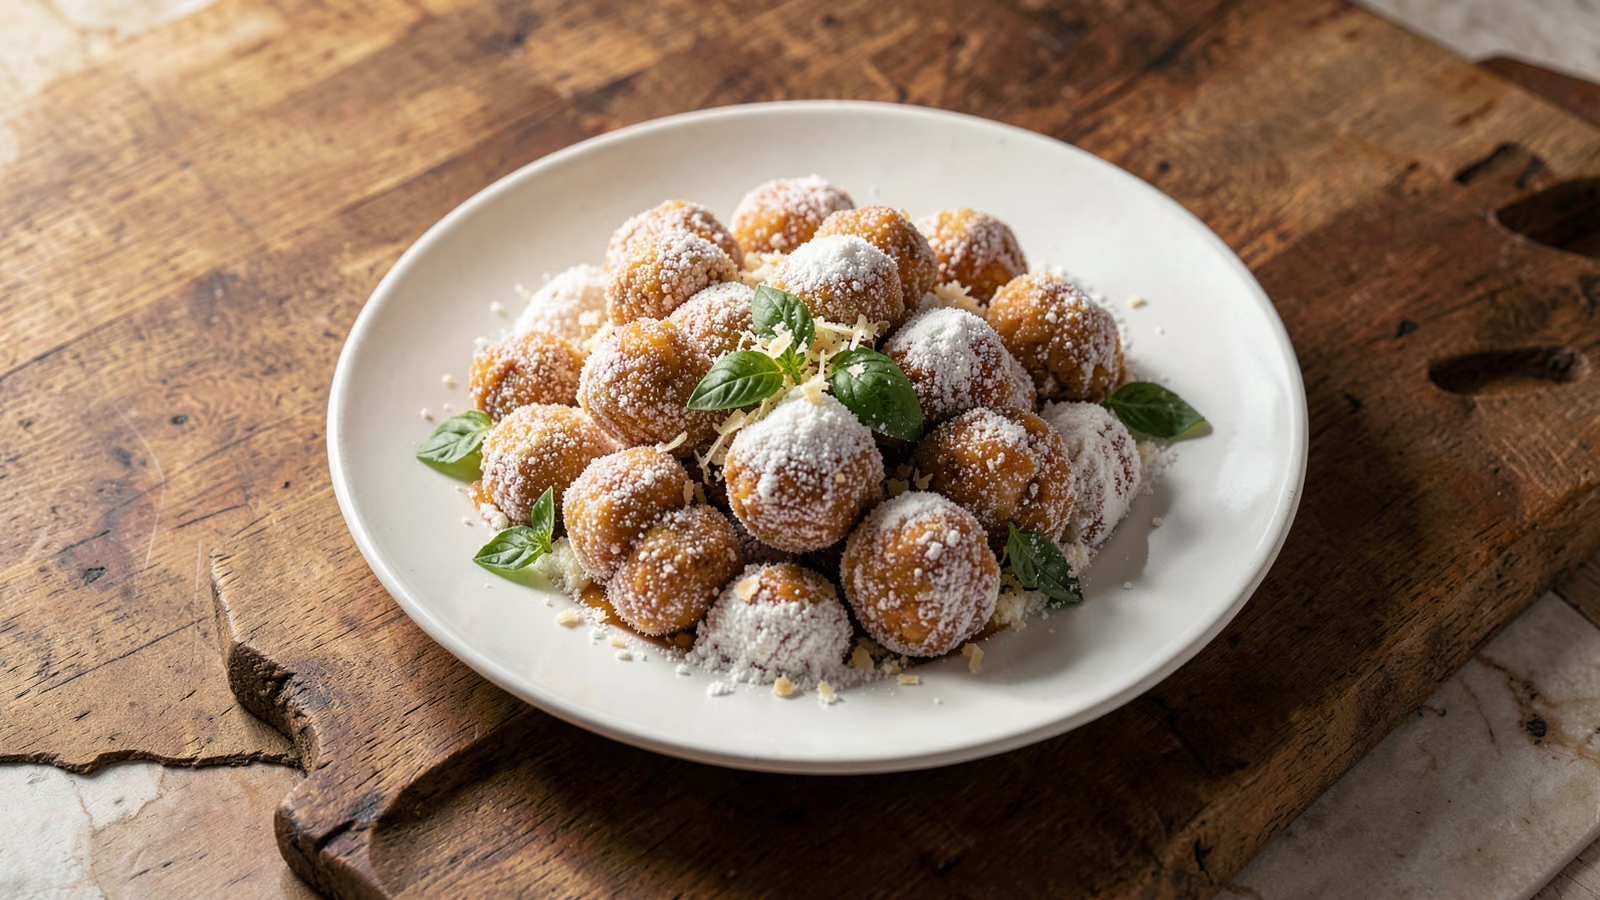
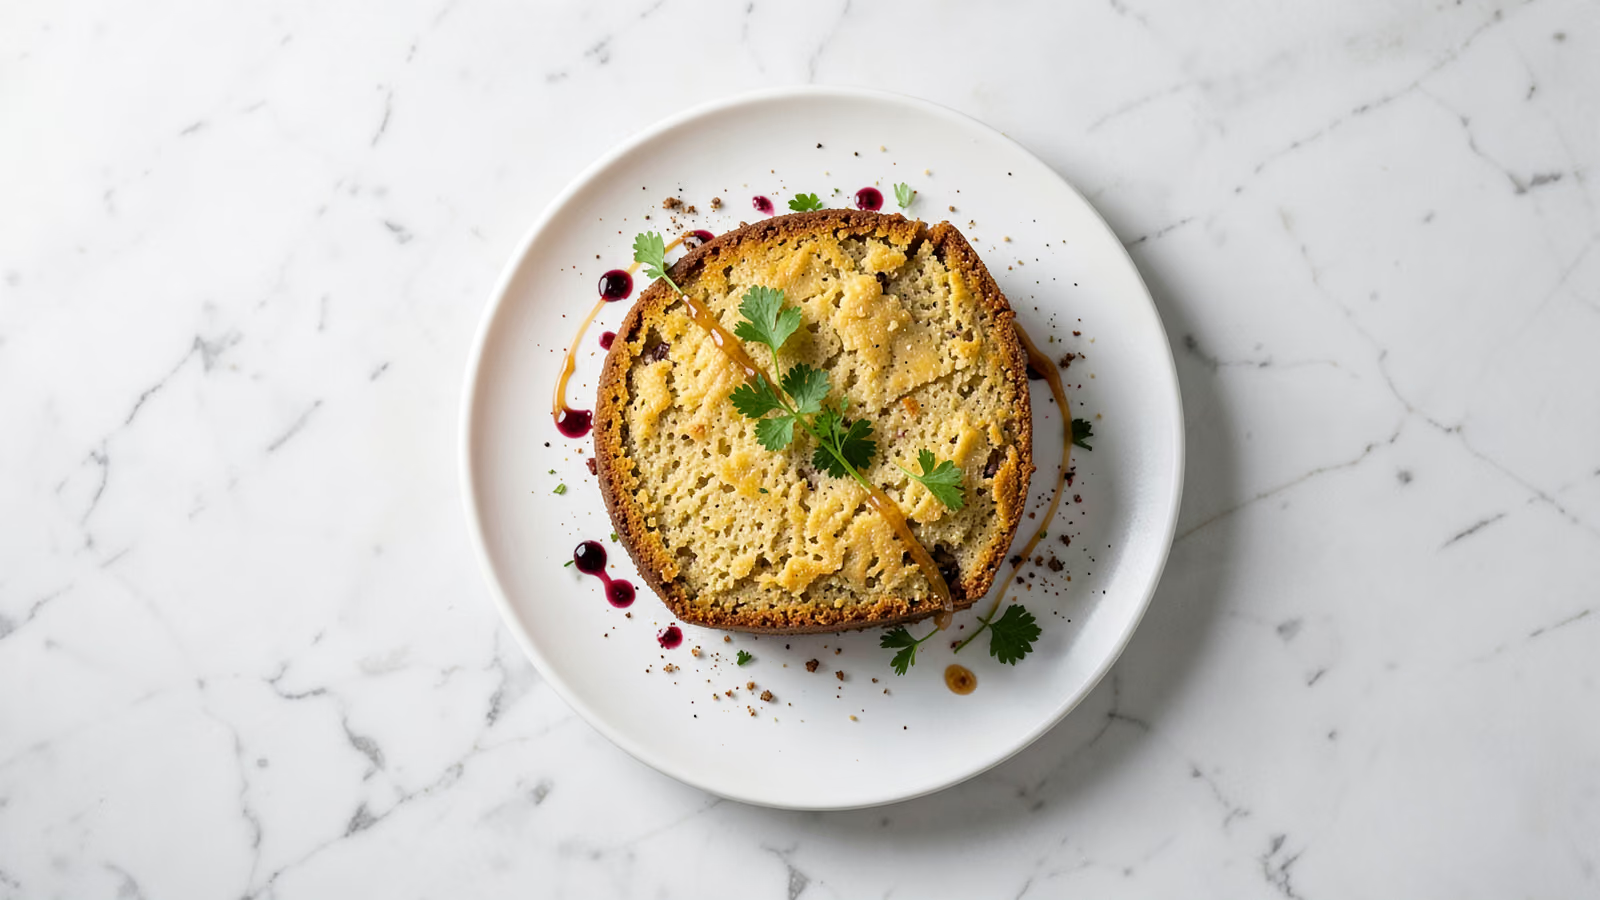
Almond Biscotti
Most cookies go soft by day two, but biscotti head the other way: two runs through the oven leave them drier, crisper, and better on day three. The first bake sets two 25 cm logs; the second dries the 1.5 cm slices until they ring hollow. Toasted almonds carry the flavor, with 0.5 tsp of almond extract behind them. The 30 g of melted butter is optional and keeps the crumb from chalk. You need 20 minutes of hands-on work. The oven handles the other 50 minutes. The batch serves 12 and stays crisp for two weeks.
- Prep
- 20 min
- Cook
- 50 min
- Total
- 100 min
- Additional time
- 30 min
- Serves
- 12
Ingredients
What you’ll need — tap to tick off as you go
- 250 g
- 150 g
- 1 tsp
- ½ tsp
- 1 tsp
- ½ tsp
- 120 g
- 30 g
Process
Timers built in · swap anything · ask as you cook
Heat the oven to 180°C and line a baking sheet with parchment, then spread the 120 g of whole almonds in a single layer and toast them for 8 to 10 minutes, until they smell warm and nutty and their skins look dry. Cool them first. Chop the almonds roughly with a knife, because a food processor leans toward paste and you want pieces you can still see in the dough.
Whisk the 250 g of all-purpose flour, 150 g granulated sugar, 1 tsp baking powder, and 0.5 tsp salt together in a large bowl until the mixture is one even color. Breaking up the leavening now prevents a bitter pocket in your finished cookie. It costs two minutes.
In a second bowl, beat the 2 room-temperature eggs with 1 tsp vanilla extract and 0.5 tsp almond extract, if you are using it, until the mixture is smooth and slightly frothy. Stir in the 30 g of melted unsalted butter, cooled a little first. Warm butter will not blend into cold eggs (the mixture looks grainy), but it bakes up fine.
Pour the egg mixture over the dry ingredients and stir with a spatula until a shaggy dough forms and no dry flour is left at the bottom of the bowl. Fold in the almonds. That stickiness is the point. Any flour you add now to fight it bakes into a tough, dry cookie.
Turn the dough onto a lightly floured counter and divide it into two equal portions, then roll each one into a log that runs about 25 cm and measures 5 cm across (damp hands stop the dough from gluing itself to you). Set the logs on the lined sheet with space between them. They spread as they bake, and your logs will fuse into one long loaf if they touch.
Bake the logs at 180°C for 25 to 30 minutes, until they are pale gold and firm to the touch and spring back when you press the center. Cracks are normal. Leave them on the sheet for 10 minutes before the knife comes out, because slicing while the insides are hot pulls the crumb apart.
Lower the oven to 160°C. Move each log to a cutting board and slice it on the diagonal into pieces about 1.5 cm thick, sticking with a serrated knife and long sawing strokes (pressing straight down cracks the slices). Lay the slices cut-side down on the sheet, close together but not touching.
Bake for 15 to 20 minutes, flipping every slice at the halfway mark, until the biscotti feel dry and light for their size and the cut faces are crisp at the edges, though they will not brown past pale gold. It's fine if the centers still give. The drying continues on the rack, and pulling them early is what keeps the crunch from turning to stone.
Slide your slices onto a wire rack with space between them. Leave them until they are cool all the way through, about 30 minutes, since air moving underneath carries the last steam away from the bases. A jar filled while they are warm traps that steam and softens the whole batch overnight, so store them airtight once they are cool.
Why this recipe works
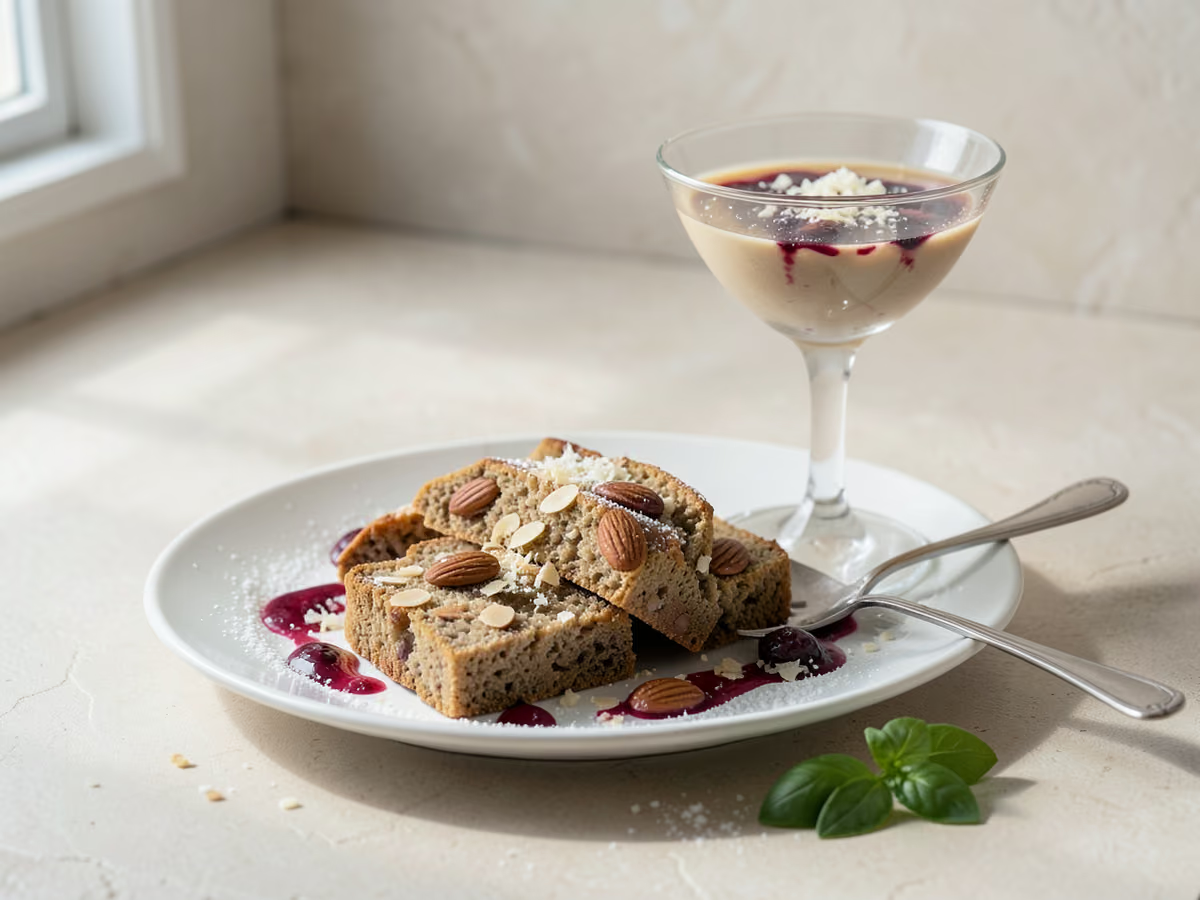
Why does the top of each log split as it bakes? Because the crust sets before the interior finishes swelling, the surface tears along its weakest line, and that crack signals a healthy first bake. The rest is moisture management. Eggs and sugar build a structure that holds once the first bake sets it, and 10 minutes of rest firms the crumb so your knife passes through cleanly. The second bake at 160°C is a drying step, not a browning one. More heat would harden the outside while the middle stayed damp, and water left inside is exactly what softens crisp slices overnight. Keeping the melted butter to 30 g serves the same goal, because fat slows the drying that makes biscotti biscotti.
Equipment
- Baking sheet large enough for two 25 cm logs with room between them
- Parchment paper
- Large bowl and a second medium bowl
- Whisk and a flexible spatula
- Long serrated knife (a bread knife)
- Cutting board
- Wire cooling rack
- Digital scale (optional, but the most precise way to measure flour)
Kitchen notes
Kitchen notes
- Toast the almonds while the oven is climbing to 180°C, since they want the same heat as the logs and one pan and one trip do both jobs.
- Measure the flour by weight when you can. A slack dough spreads out in the first bake and bakes up flat, so trust the stiff texture this recipe describes.
- If the logs keep cracking as you cut, mist them lightly with water and wait 5 minutes (a spray bottle reaches the sides better than a damp hand), because the crust softens just enough for the blade and the slices dry again in the second bake. The trick is to mist, not soak.
- Go with mini chocolate chips or finely chopped dried fruit, up to 100 g in total, since large chunks stop the knife mid-stroke and knock the slices off course while small pieces let the blade pass between them.
- When humidity gets into your container, 5 minutes in a 150°C oven bring the snap back, and the slices should cool on a rack afterward because a warm cookie returned to a jar will soften the whole batch.
Common mistakes
- Slices crumble under the knife when the logs are still hot inside or the blade is pushing instead of sawing, so wait the full 10 minutes on the sheet. Then cut with a serrated knife and almost no downward force. Pressing tears the crumb.
- Biscotti go soft in the jar by the next morning when the second bake ends while the centers still hold water, so put the tray back at 160°C in 5-minute stretches. Work until your slices feel dry at the cut faces and light for their size.
- Bricks instead of cookies come from slices cut thinner than 1.5 cm, which dry all the way through in the second bake. Keep the cuts at 1.5 cm, and pull the tray while the centers are still the least bit soft. They harden as they cool.
- A dough that cracks while you roll it simply has too much flour in it, added to fight the stickiness. Wet your hands instead, dust the counter lightly, and stop the moment the dough holds its shape.
- Almonds that taste raw and woody inside a finished cookie went into the dough untoasted, so give them those 8 to 10 minutes in the oven before chopping; that toast carries the nut flavor through the second bake.
Serving suggestions
- Espresso or strong filter coffee, dunked a few seconds at a time. These hold up longer than most cookies, but half a minute underwater will still finish them off.
- A wedge of soft cheese or a handful of grapes alongside. The salty counterpoint is the reason these cookies show up at the end of an Italian meal rather than at the start.
- Crushed day-old slices make a crisp crumb over yogurt, ice cream, or a bowl of fruit, so pulse them with a spoonful of sugar and a pinch of salt and keep the jar in the freezer for an instant topping.
- The first ones off the rack are the reward, with centers still giving slightly and the kitchen smelling of toasted almonds. Enjoy it warm with the coffee, and let the jar hold the rest.
Variations
- No-butter Tuscan style: leave out the 30 g of butter for the drier, harder cookie of the classic Prato versions. It keeps longer and takes a longer dunk before it gives way.
- Chocolate and cranberry: fold 100 g of dark chocolate chips or dried cranberries in with the almonds, and give the logs 5 extra minutes in the first bake, because both additions carry moisture into the dough.
- Anise and almond: crush 1 tsp of anise seeds and add them with the flour for the old Tuscan pairing. Fennel seed gives a gentler, sweeter version of the same idea.
Refrigerator
- RefrigeratorSkip the refrigerator, because dry cookies pick up moisture there and soften within a day. Airtight at room temperature is where they belong, and there they hold their snap for up to 2 weeks.
- ReheatingLeftover slices crisp up again after 5 minutes at 150°C. Cool them on a rack afterward, because a warm cookie in a closed container steams itself soft.
- FreezingBaked biscotti freeze in a zip-top bag for up to 3 months; thaw them at room temperature and refresh in a 150°C oven if the thaw left them soft. Shaped dough logs freeze for up to 1 month and bake straight from frozen, with a few extra minutes on the first round.
- Make aheadBake the batch up to 1 week ahead and keep it sealed. These are at their best 2 or 3 days out, once the flavor has settled and the last of the moisture has gone.
Updated:
How this recipe was developed
- USDA FSIS, How should cookies be stored? (homemade cookies keep at room temperature two to three weeks, two months refrigerated, eight to twelve months frozen) - https://ask.fsis.usda.gov/article/How-should-cookies-be-stored
- FDA, Are You Storing Food Safely? (refrigerate perishable food within two hours; refrigerator at or below 4°C; freezer at -18°C) - https://www.fda.gov/consumers/consumer-updates/are-you-storing-food-safely
- King Arthur Baking, biscotti technique guidance (twice-baked logs sliced after they firm; whole nuts chopped so the blade is not knocked off course; add-ins bring moisture and need extra bake time; airtight storage) - https://www.kingarthurbaking.com/blog/2021/12/14/best-biscotti-tips
- Serious Eats, Almond Biscotti With Anise (a dough built on eggs and nuts alone gives the driest, sturdiest cookie; slice with a thin, light blade; second bake until dry to the touch and barely browned) - https://www.seriouseats.com/almond-anise-biscotti-cookies
Editorial references are kept internally for verification. This page makes no claim of external certification or professional testing.
FAQ
The questions we get asked most
Why did my biscotti turn out too hard?
Almost always thin slices or a second bake that ran long. Keep the cuts at 1.5 cm, and pull the tray while the centers still feel slightly soft, because they finish crisping as they cool on the rack. If yours are already past that point, they are still good cookies. The hard ones want a longer dunk.
Can I make biscotti without eggs?
Yes, with flax eggs: 1 tbsp of ground flaxseed whisked with 3 tbsp of water for each egg, rested for 5 minutes until the mixture turns gel-like, and two of them stand in for the 2 eggs here. The texture comes out slightly denser but still crisps after the twice-baking. If the dough feels wet, work in a spoonful more flour.
How do I know when biscotti are done?
By touch and by weight rather than color. A finished slice feels dry and light for its size, the cut faces are crisp, and there is barely any browning past pale gold. Squeeze one in your palm: if the center still gives, give it 3 to 5 more minutes at 160°C. No thermometer needed here. The rack finishes the drying as they cool.
Can I add chocolate or dried fruit?
Yes, up to 100 g folded in with the almonds, though both additions bring moisture and the logs will need about 5 extra minutes in the first bake. Choose mini chips or chopped fruit over large chunks, since the knife goes through them more cleanly. If the chips soften the dough as you shape it, chill it for 15 minutes first, and keep any raw-egg dough covered in the refrigerator, since it should not sit out beyond 2 hours.
Why did my biscotti crumble when slicing?
The logs were too hot, or the knife was working against the crust. Ten minutes on the sheet lets your crumb firm up. A serrated blade with a light sawing stroke cuts clean slices where pressing down shatters them. A dough mixed too dry crumbles as well, so stop adding flour as soon as it holds together.
Can I freeze the dough or baked biscotti?
Both freeze well. Shaped logs keep for up to 1 month and bake straight from frozen with a few extra minutes on the first round. Baked biscotti keep for up to 3 months in a sealed bag and thaw at room temperature in about 30 minutes. A 150°C oven for 5 minutes refreshes either batch.
Ask KitchenMind about this recipe
Tell it what’s different tonight — it works within the actual recipe.