Chana Masala
Chana masala is the everyday Punjabi answer to dinner: chickpeas simmered in a thick, sour-edged tomato and onion masala, with cumin hitting the hot oil first and garam masala and lemon saved for the very end so both stay bright. It is 15 minutes of prep and 30 minutes on the stove, it builds from pantry ingredients in one pot, and it is vegan and gluten-free with no substitutions needed.
- Prep
- 15 min
- Cook
- 30 min
- Total
- 45 min
- Serves
- 4
Ingredients
What you’ll need — tap to tick off as you go
- 2 tbsp
- 1 tsp
- 4 cloves
- 1 tbsp
- 2 tsp
- 1 tsp
- ½ tsp
- ½ tsp
- 400 g
- 400 g
- 250 ml
- 1 tsp
- 1 tsp
- 1 tbsp
- 2 tbsp
Process
Timers built in · swap anything · ask as you cook
Heat the 2 tbsp cooking oil in a large pot over medium heat, add the 1 tsp cumin seeds and let them sizzle for 30 seconds, until they darken a shade and smell toasted. They flavour the whole pot from here, so wait for the smell rather than the clock, and pull the pot off the heat if they start blackening.
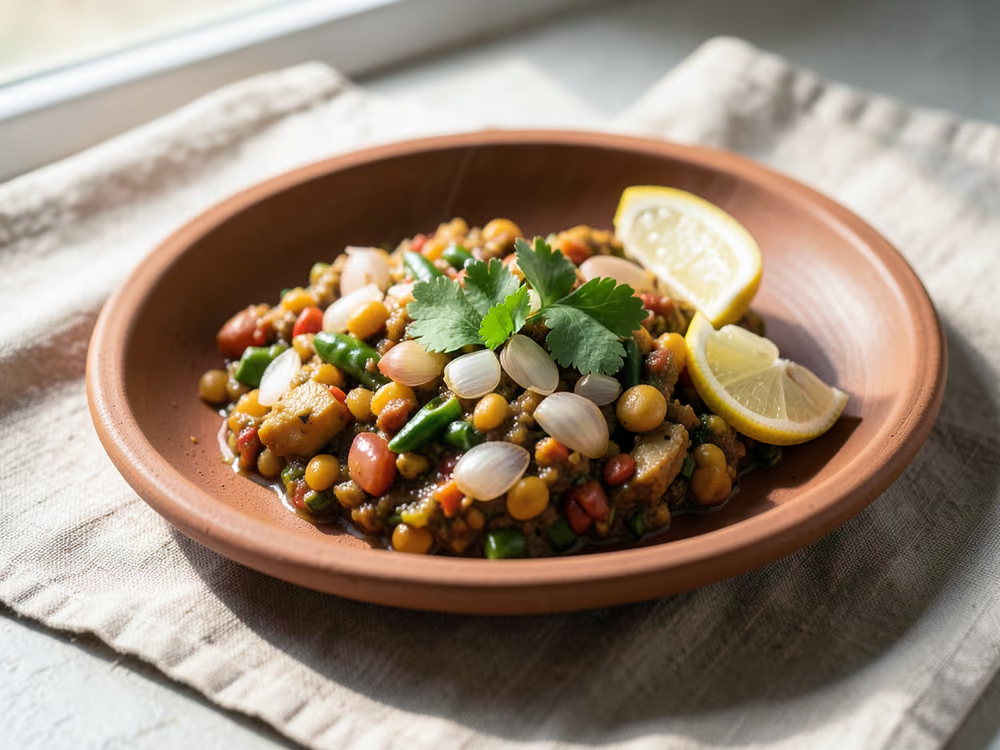
Add the chopped onion and cook for 5 to 7 minutes, stirring occasionally, until it is golden brown and soft. This is the sweet foundation of the gravy; keep the heat at medium so the edges colour evenly, and stir if anything catches on the base of the pot.
Stir in the 4 minced garlic cloves, the 1 tbsp grated ginger and the chopped green chili and cook for 1 to 2 minutes, until the raw sharpness blows off and the smell turns sweet. Garlic at this stage goes from fragrant to bitter in under a minute, so do not leave the pot.
Add the 2 tsp ground coriander, 1 tsp ground cumin, 0.5 tsp turmeric and 0.5 tsp chili powder and stir constantly for 1 minute to toast them in the oil. This minute is what turns dusty powder into a rounded masala; any longer and they burn, which no amount of simmering will fix.
Pour in the 400 g tomato puree and cook for 5 to 7 minutes, stirring frequently, until it darkens to a deep brick colour and the oil separates and pools at the edges. That oil line is the cue: it means the water has cooked off and the sauce is fried rather than raw. If it still smells sharp, keep going.
Add the 400 g drained chickpeas and the 250 ml water, stir well and bring to a simmer. Turn the heat to low, cover, and simmer for 15 minutes, stirring occasionally: the chickpeas are already cooked, so this stage is about drinking in the masala and giving the gravy body.
Uncover and simmer for another 5 to 10 minutes, until the gravy thickens to the consistency you want, then season with salt to taste. Keep the pot open so water can leave; the chickpeas also drink liquid as they sit, so err on the looser side.
Stir in the 1 tsp garam masala and the 1 tbsp lemon juice and cook for 1 more minute, no longer, keeping the heat gentle. Both are volatile: a longer boil flattens the garam masala and dulls the lemon, and takes the lift out of the pot.
Scatter the 2 tbsp chopped cilantro over the top and serve hot, with rice, naan or roti. The garnish is not decorative here: its freshness cuts the fried, spicy base and makes the dish taste finished rather than heavy.
Why this recipe works
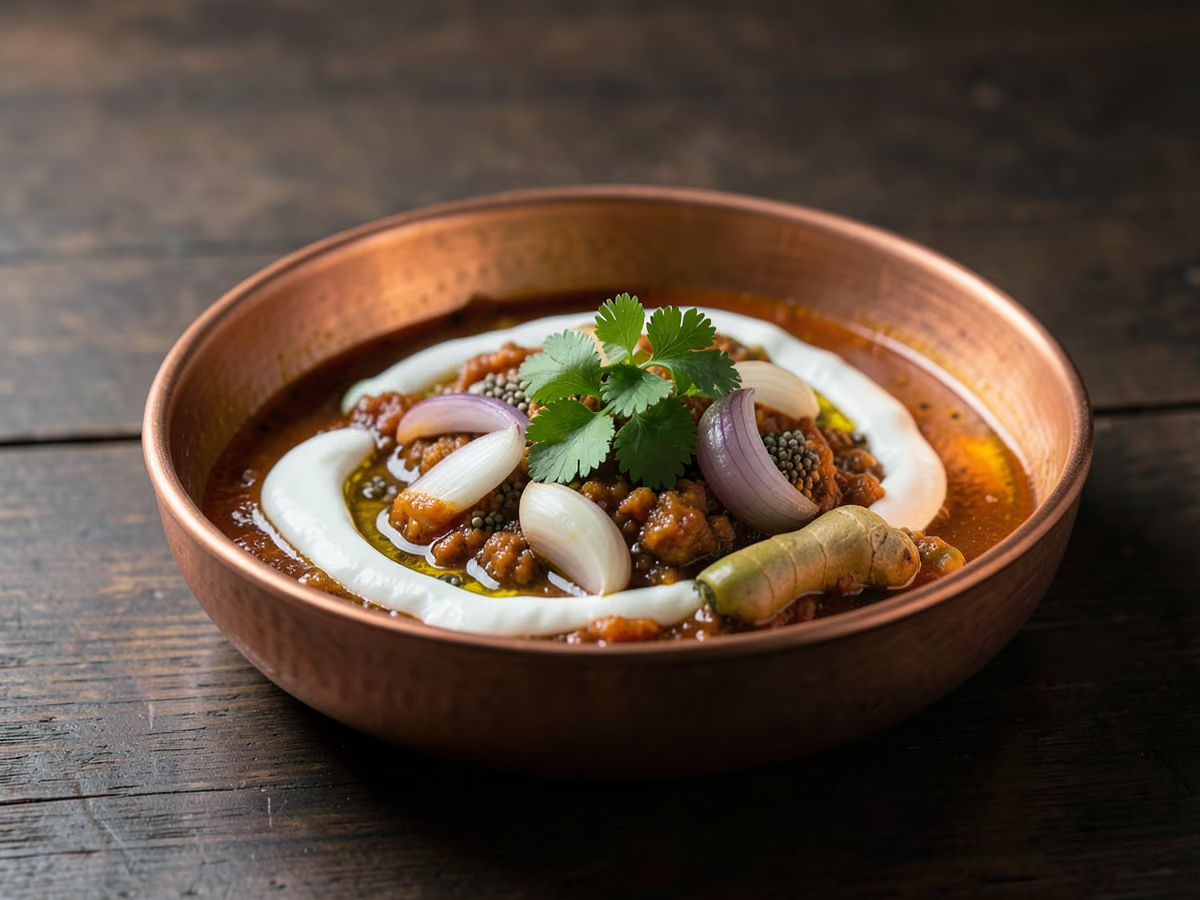
The backbone is the onion-and-tomato base, cooked until the raw edge is gone: the puree darkens from bright red to brick and the oil separates and pools at the edges, which is the visual proof that the water has cooked off and the fat is carrying the spice. The ground spices are toasted for a minute in that hot oil, where they dissolve and round out rather than tasting dusty. The chickpeas are already fully cooked, so the covered simmer is about absorbing flavour and giving up starch — and starch is the thickener: mashing some of the chickpeas against the pot turns the gravy creamy without any cream.
Equipment
- Large pot or Dutch oven, 4 to 5 litres
- Wooden spoon or heatproof spatula
- Chef's knife and cutting board
- Measuring spoons
- Colander for draining and rinsing the chickpeas
- Potato masher or the back of a ladle for crushing chickpeas
Kitchen notes
Kitchen notes
- Crush about 1/4 cup of the chickpeas against the side of the pot once they are in. The released starch thickens the gravy to something creamy, which is the difference between chickpeas in sauce and chana masala.
- If you cook dried chickpeas, keep their cooking liquid and use the 250 ml the recipe calls for from that pot rather than plain water; it carries flavour and starch straight into the gravy.
- Taste the base before the chickpeas go in. It should be a touch too salty, too sour and too spicy on its own, because the plain chickpeas and the water will dilute all three.
- Whole cumin seeds tell you the oil is ready: they should sizzle on contact and smell toasted within 30 seconds. If they sit silently the oil is too cold; if they blacken at once, start again on lower heat.
- Doubling the recipe works with no technique changes. Use a wider pot if you have one, because the tomato base fries by evaporation and a bigger surface area keeps the 5 to 7 minutes honest.
Common mistakes
- A bitter pot: the ground spices were toasted past a minute, or the garlic browned, and both faults are made early and cannot be simmered away. Toast the spices for 1 minute over medium heat with constant stirring, and add the garlic only once the onions are golden, not dark.
- A raw, sour, thin base: the tomato puree was not cooked long enough, so the sauce never lost its sharp edge or came together. Wait for the deep brick colour and the oil pooling at the edges, usually after 5 to 7 minutes of frequent stirring, before the chickpeas go in.
- Hard chickpeas: dried chickpeas went in undercooked, and no extra simmering fixes them once they are in a tomato sauce. Soak them overnight and boil until they crush easily, about 60 to 90 minutes, or start from canned chickpeas, which are already tender.
- Dry, heavy curry: the uncovered simmer ran too long, and chickpeas keep absorbing liquid as they sit. Loosen it with hot water 2 tbsp at a time, and next time stop the reduction a little before the consistency you want.
- Flat, dull flavour: the garam masala and lemon were boiled for too long, or the pot simply needs salt. Add both in the last minute on gentle heat, and taste for salt at the end, after the chickpeas have absorbed their share.
- Scorched, sticking masala: the tomato base was left unstirred, and tomato sugars catch quickly on a hot pot. Stir frequently through the 5 to 7 minutes of reduction, and if it does catch, move the curry to a clean pot rather than scraping the burnt layer in.
Serving suggestions
- Serve hot in deep bowls, 4 portions, with steamed basmati rice, naan or roti to mop the gravy; the sauce is the point, so give it something to soak into.
- On top: extra chopped cilantro, a few raw onion rings and a lemon wedge, so each person can add freshness and sharpness at the table.
- A cool side works best: cucumber salad, a spoon of coconut yogurt for a dairy-free raita, or simply sliced tomatoes with salt.
- Iced tea, sparkling water or a salted lime soda to drink; the dish is already tangy, so keep the glass simple.
Variations
- Mild, family version: leave out the green chili and use half the chili powder, keeping the rest of the spice base the same; the dish loses its edge but keeps the aroma.
- Creamier, richer finish: swirl in 2 tbsp coconut milk at the end and simmer for 1 minute more, still vegan and closer to a restaurant-style gravy; the lemon and garam masala still go in last.
- Extra-thick, bhuna style: after the covered simmer, mash more of the chickpeas and reduce the gravy further until it coats them heavily; serve with roti rather than rice, since a thicker gravy wants scooping.
Refrigerator
- RefrigeratorCool it within 1 hour, spreading it in a shallow container so it stops steaming, then store in an airtight container in the refrigerator for up to 4 days. It thickens as it sits, which is normal.
- ReheatingReheat on the stovetop over medium-low heat, or in the microwave, until it reaches 74°C throughout, adding 1 to 2 tbsp water if the gravy has tightened. Do not boil it hard after the lemon and garam masala are in, or both go flat.
- FreezingUp to 3 months: portion into freezer-safe containers, press out the air and freeze; thaw overnight in the fridge. The texture holds up well, since there is no dairy or potato in the pot to split.
- Make aheadIt tastes better the next day: cook it fully, cool it within 1 hour and refrigerate for up to 4 days. Reheat gently with a splash of water, and stir in a fresh squeeze of lemon and a pinch of garam masala before serving to bring it back to life.
Updated:
How this recipe was developed
- USDA FSIS leftovers and food safety guidance (refrigerate within 2 hours; 3 to 4 days in the fridge; freezer quality for months; reheat leftovers to 74°C)
- Swasthi's Recipes chana masala (onion-tomato masala sautéed until aromatic, canned chickpeas drained and rinsed, gravy simmered until thick)
- NYT Cooking chana masala, Zainab Shah (tomato base cooked until jammy; some chickpeas smashed against the pot to thicken the gravy)
- Serious Eats on cooking chickpeas (soak overnight; simmer until completely tender; canned chickpeas are already cooked and work in place of dried)
Editorial references are kept internally for verification. This page makes no claim of external certification or professional testing.
Gallery
FAQ
The questions we get asked most
Why did my chana masala turn out bitter?
Almost always burnt ground spices or browned garlic. The coriander, cumin, turmeric and chili powder need just 1 minute over medium heat with constant stirring, and the garlic goes in only after the onions are golden, not dark. If it has already turned, 1 tsp sugar and 2 tbsp coconut milk or yogurt will round off the edge without hiding the dish.
Can I use dried chickpeas instead of canned?
Yes: soak 150 g overnight, boil until completely tender, about 60 to 90 minutes, and use 250 ml of the cooking liquid instead of plain water for more body. The recipe is written for canned chickpeas, drained and rinsed, but cooked from dry gives a deeper, firmer result.
How do I know when the tomato-onion base is ready?
The puree darkens from bright red to a deep brick colour and you can see oil pooling at the edges of the mixture, usually after 5 to 7 minutes of frequent stirring. If it still looks watery or smells raw and acidic, keep going; this step cannot be rushed, or the final curry tastes sour.
Can I make chana masala ahead of time?
Yes, and it tastes even better the next day. Cook it fully, cool it within 1 hour and refrigerate for up to 4 days, then reheat gently with a splash of water; a fresh squeeze of lemon and a pinch of garam masala at serving brighten it back up.
Why is my chana masala dry or too thick?
The 5 to 10 minute uncovered simmer reduces the gravy, and chickpeas keep absorbing liquid as they sit. Stir in hot water 2 tbsp at a time until it is pourable; if you want it thicker, mash a few chickpeas rather than boiling it down further.
Can I freeze chana masala?
It freezes very well for up to 3 months: cool it completely, portion it into freezer-safe containers, and thaw overnight in the fridge. Reheat to 74°C, adding a little water if needed; there is no dairy or potato here to turn grainy on freezing.
Is chana masala vegan and gluten-free?
As written, it is both: the fat is oil, the creamy body comes from mashed chickpeas rather than dairy, and no ingredient contains wheat. As always, check your spice blends if you are cooking for someone with coeliac disease or a severe allergy.
Ask KitchenMind about this recipe
Tell it what’s different tonight — it works within the actual recipe.