Classic Beef Chili
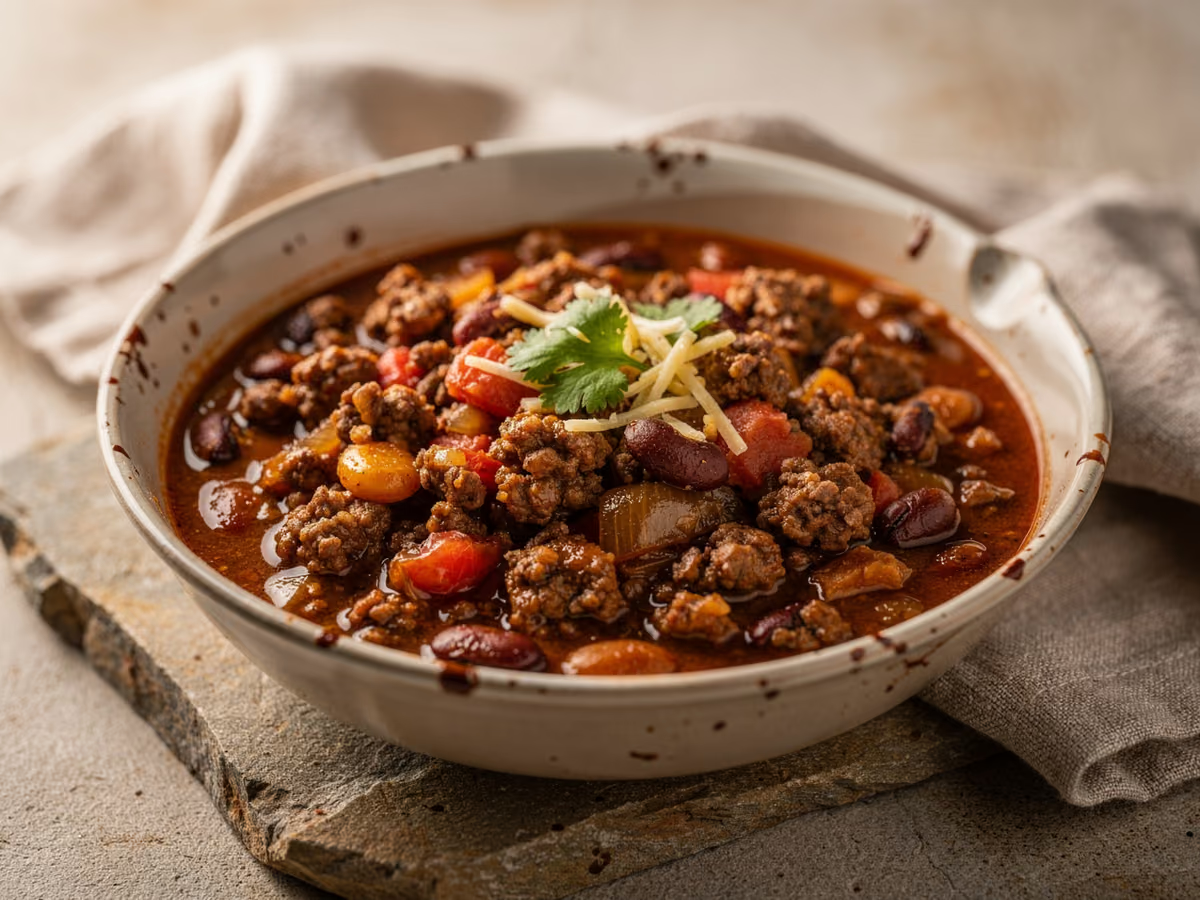
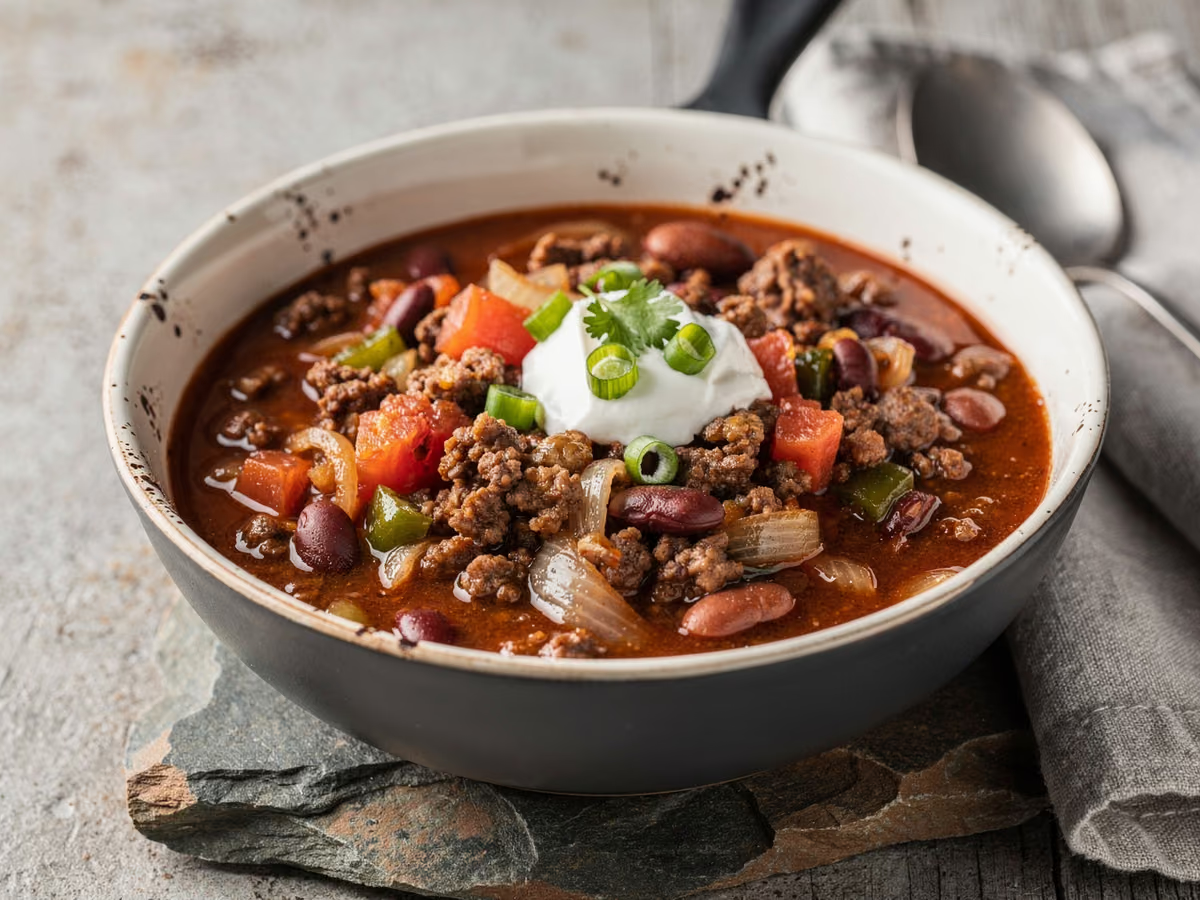
Classic beef chili built in two stages: 500 g of ground beef browned hard for crust, then a base of onion and bell pepper, 2 tbsp of chili powder bloomed in the beef fat with cumin, smoked paprika and oregano, and canned tomatoes and kidney beans doing the rest of the work. The pot simmers covered for 30 minutes and then uncovered for 10, so it thickens without flour. Prep is 15 minutes and the cook is 45, most of it unattended, which makes this a weeknight chili that still tastes slow-cooked.
- Prep
- 15 min
- Cook
- 45 min
- Total
- 60 min
- Serves
- 6
Ingredients
What you’ll need — tap to tick off as you go
- 500 g
- 3 cloves
- 2 tbsp
- 800 g
- 400 g
- 250 ml
- 2 tbsp
- 1 tsp
- 1 tsp
- 1 tsp
- 1 tsp
- ½ tsp
- 1 tbsp
Process
Timers built in · swap anything · ask as you cook
Heat 1 tbsp olive oil in a large heavy pot over medium heat until it shimmers, then add 1 diced onion and 1 diced bell pepper. Cook for 5 to 7 minutes, stirring every minute or so, until both are soft and glossy but not coloured. Sweating them first builds a sweet base; browning here leaves a bitter background note by the end of the simmer.
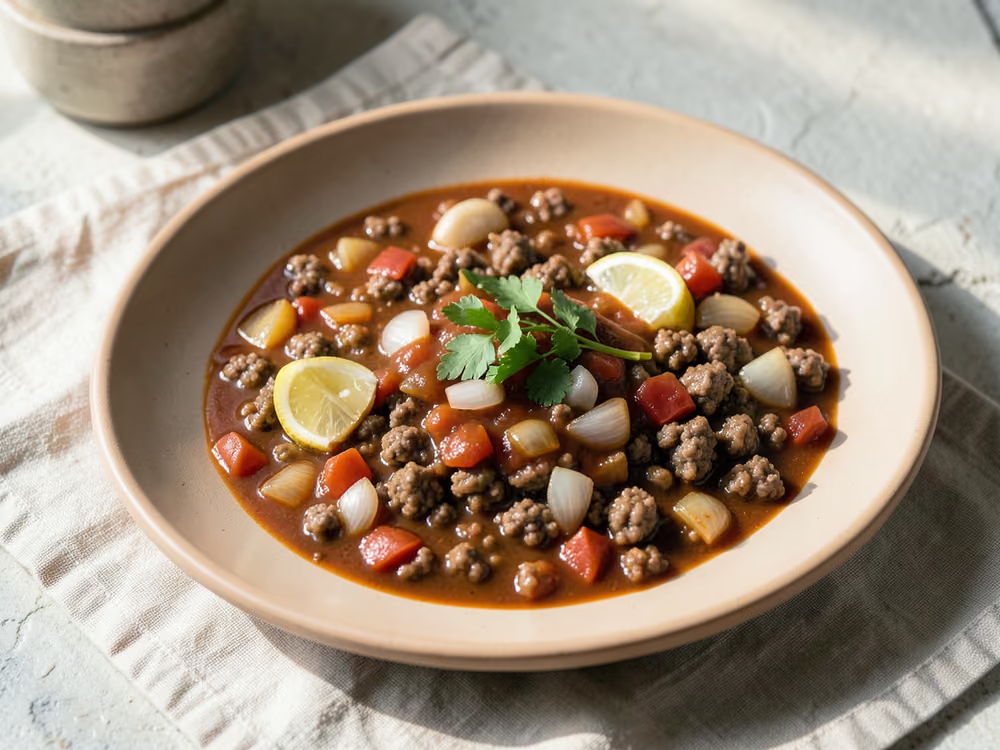
Add 3 minced garlic cloves and stir for 1 minute, just until the smell turns sweet and nutty. Keep the heat at medium: garlic goes from fragrant to burnt in under a minute, and burnt garlic cannot be rescued from a pot this size.
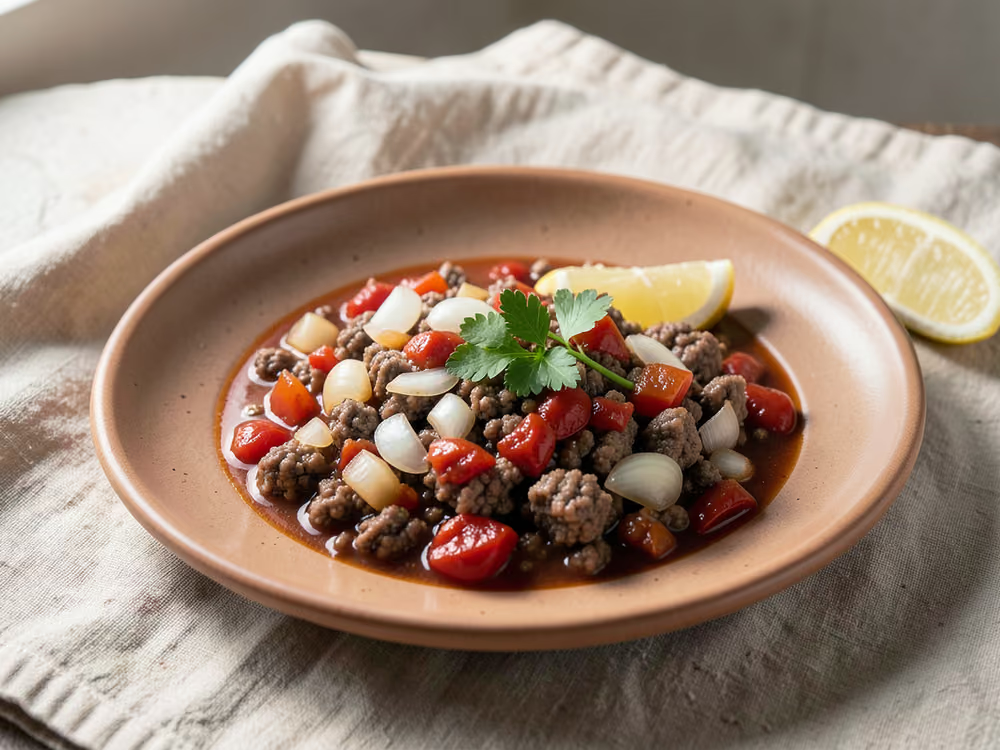
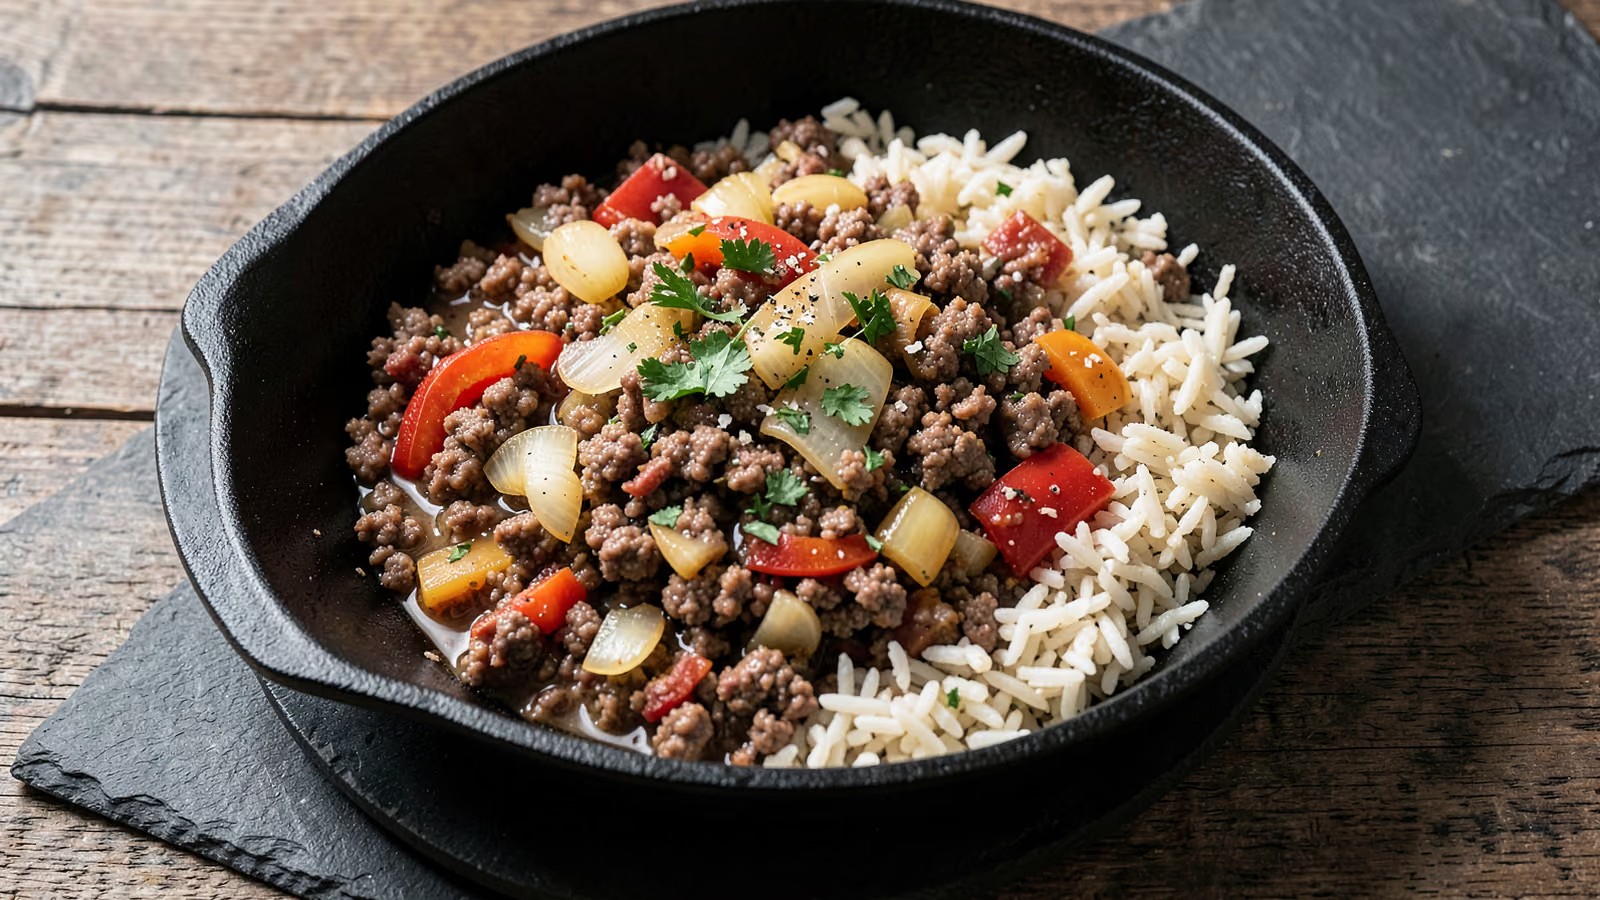
Raise the heat to medium-high, add the 500 g ground beef and spread it into one layer. Leave it undisturbed for 3 to 4 minutes, then break it up and cook for 3 to 4 minutes more, until no pink remains and several crumbles have dark, crisp edges. Browning needs a dry surface, so resist stirring; check the middle of the pot reads 71°C.
Tip the pot and spoon off all but about 1 tbsp of the rendered fat; 80/20 beef releases a lot of it. Too much fat makes the finished chili greasy and it separates in the bowl, while a tablespoon left behind is what the spices need to bloom in beef fat rather than oil.
Lower the heat to medium, push the beef aside, and add 2 tbsp tomato paste with 2 tbsp chili powder, 1 tsp ground cumin, 1 tsp smoked paprika, 1 tsp dried oregano, 1 tsp salt and 0.5 tsp black pepper. Stir into the fat for a full minute, until the paste turns brick red and the spices smell toasted; they scorch in seconds, so keep them moving.
Add 800 g diced tomatoes, the 400 g drained kidney beans and 250 ml beef broth, scraping the bottom of the pot as you stir so any stuck spice comes back into the sauce. Bring to a bare simmer over medium-high heat and stop it there: rolling bubbles break the beans down to mush and make the beef pebbly.
Cover the pot, turn the heat to low, and simmer for 30 minutes, stirring every 8 to 10 minutes and scraping the bottom each time. The lid holds enough steam to keep the beef tender, and stirring stops the tomato, which is heavy with sugar, from catching and scorching on the base of the pot.
Uncover and simmer for 10 minutes more, stirring occasionally, until the sauce thickens enough to coat the back of a spoon. The open surface is where the water leaves; if it still looks thin after 10 minutes, give it another 5 rather than adding a thickener.
Taste before serving and adjust: add the remaining salt a pinch at a time, and finish with a squeeze of lime or a splash of cider vinegar if the pot tastes flat or heavy. Serve hot in warmed bowls, with the pot still on low heat for seconds.
Why this recipe works
Ground beef only browns once its surface water has boiled off, so it needs a hot pot, a single layer and a few undisturbed minutes before you break it up; that crust is where the deep meat flavour comes from. Blooming the chili powder, cumin, paprika and oregano in the rendered fat does two jobs at once: fat-soluble flavour compounds dissolve into the oil and are carried through the whole pot, and a minute of heat cooks the raw edge out of ground spices that would otherwise taste dusty. The covered simmer keeps the beef crumbles tender and the beans whole, and the last 10 minutes uncovered let water escape so the bean starch thickens the sauce.
Equipment
- Heavy-bottomed pot or Dutch oven, 4 to 5 litres
- Wooden spoon or heatproof spatula
- Chef's knife and cutting board
- Can opener
- Measuring spoons and a small bowl for the spice mix
- Instant-read thermometer
- Ladle for serving
Kitchen notes
Kitchen notes
- Measure every spice into one small bowl before you start. Once the paste hits the fat you have about a minute before it scorches, and hunting through the cupboard with the pot waiting is how spices burn.
- Skip the lean grind: 80/20 gives the fat that carries the chile flavour through the pot. If you only have 90/10, add an extra tablespoon of oil and expect a slightly drier, less rounded chili.
- Let the finished pot sit off the heat for 10 minutes before serving. It thickens as it cools and the fat on the surface stirs back in instead of pooling in the first bowls.
- Chili is one of the few dishes that genuinely improves overnight: cool it fast, refrigerate it, and reheat it gently the next day. The spices have time to distribute and the tomatoes taste less sharp.
- A tablespoon of masa harina whisked into a little cold water and simmered in for 5 minutes thickens the pot without flour and adds a faint toasted-corn note that suits the chile.
- If the chili tastes hot but thin in flavour, the fix is fat and salt rather than more chili powder: a knob of butter or a spoon of sour cream per bowl rounds off the heat without muting the spice.
Common mistakes
- Grey, steamed beef: the pot was not hot enough or the meat went in as one cold block, so it released water and simmered instead of browning. Let the oil shimmer, spread the beef in a single layer, and leave it alone for 3 to 4 minutes before you break it up.
- A raw, dusty spice taste: the spices went in after the liquid, or were stirred for only a few seconds. Bloom them with the tomato paste in the fat for a full minute at medium heat, where they toast rather than burn.
- Bitterness that no amount of salt fixes: burnt garlic or scorched ground spices. Give the garlic 1 minute only, and if the spices catch, start the pot again rather than trying to bury it; burnt notes spread through everything they touch.
- Thin, soupy chili: the lid stayed on for the whole cook, or the pot was crowded with too much liquid. Simmer the last 10 minutes uncovered, and if it still runs, mash a ladleful of beans against the side of the pot.
- Flat flavour despite plenty of spice: not enough salt, or no acid at the finish. Canned tomatoes, beans and broth soak up a lot of salt, so taste at the end and brighten the pot with lime or cider vinegar.
- Beans collapsed into mush: a hard boil, or 40 minutes at too high a simmer. Keep the pot at a bare bubble once the beans are in; they are already cooked and only need to warm through and absorb flavour.
Serving suggestions
- Serve hot in warm bowls, 6 portions of roughly 350 ml each, with the pot left on low heat so people can take seconds without the chili cooling.
- Cornbread, steamed rice or a baked potato to catch the sauce, and tortilla chips for scooping the thick bits off the bottom.
- Set out sour cream or plain yogurt, shredded cheddar, sliced spring onion, coriander, pickled jalapenos and lime wedges so each person can cool or sharpen their own bowl.
- Over fries or a hot dog for chili fries and chili dogs, or in a bowl with a fried egg on top the next morning.
Variations
- Slow cooker: brown the beef and sweat the vegetables on the stovetop first, because a slow cooker cannot do either, then transfer everything to the insert. Cook on low for 6 to 8 hours or high for 3 to 4, and leave the lid off at the end if it looks loose.
- Hotter pot: add 1 diced jalapeno with the onion, or up to 0.25 tsp cayenne with the spices. For a milder chili, use a mild chili powder blend or cut it to 1 tbsp and make up the colour with extra paprika.
- Vegetarian version, a different dish: replace the beef with 500 g of plant-based ground or a second tin of drained beans and use vegetable broth. Brown the plant-based ground the same way and expect a softer, less meaty texture.
- Masa-thickened, stew-style: mash a third of the beans against the pot before they go in and finish with 1 tbsp of masa harina slurried in cold water, simmered for 5 minutes. The result is thicker, more rustic and holds together on a baked potato.
Refrigerator
- RefrigeratorCool the pot within 2 hours of cooking, spreading it in a shallow container to speed this up, then refrigerate in an airtight container for up to 4 days. USDA FSIS guidance allows 3 to 4 days, while UK FSA and NHS guidance is stricter at 2 days; the fat sets on the surface and can be lifted off before reheating.
- ReheatingReheat on the stovetop over medium-low heat, stirring, until it bubbles throughout, or in the microwave in 1-minute bursts. USDA FSIS guidance is to bring leftovers to 74°C. Add a splash of broth or water if it has thickened in the fridge.
- FreezingUp to 3 months. Cool it completely, portion into containers or freezer bags with headspace for expansion, and freeze flat for fast thawing. Thaw overnight in the fridge; the beans soften slightly and the chili often tastes fuller afterwards.
- Make aheadThe flavour improves after a night in the fridge, so cook it a day ahead if you can: cool it fast, refrigerate, and reheat gently. For the same day, 15 minutes of prep and 45 minutes of cooking from pot to bowl is real, and the finished chili holds on low heat for an hour without suffering.
Updated:
How this recipe was developed
- USDA FSIS safe minimum internal temperatures (ground meats 71°C; reheated leftovers 74°C)
- USDA FSIS leftovers and food safety guidance (refrigerate within 2 hours; 3 to 4 days in the fridge; 2 to 3 months in the freezer)
- UK Food Standards Agency guidance on dried kidney beans (soak at least 12 hours, then boil vigorously for at least 10 minutes; canned beans are safe as sold)
- Serious Eats, The Food Lab, on blooming ground spices in oil for fat-soluble flavour and on browning ground meat for Maillard flavour
Editorial references are kept internally for verification. This page makes no claim of external certification or professional testing.
Gallery
FAQ
The questions we get asked most
Is it safe to use canned kidney beans in chili?
Yes. Canned beans have already been cooked under enough heat to destroy the toxin, so they can be eaten straight from the tin. The concern applies only to dried red kidney beans: they contain a lectin that survives gentle cooking, so they must be soaked for at least 12 hours and then boiled vigorously in fresh water for at least 10 minutes.
Can I use dried kidney beans instead of canned?
Yes, but cook them completely first: soak 200 g of dried beans overnight, drain and rinse them, boil them hard in fresh water for at least 10 minutes, then simmer until tender. Adding raw dried beans to the pot does not work, because the acidity of the tomatoes slows their softening and the chili is done long before they are.
Why is my chili bland?
Almost always under-salting or too little acid. Tomatoes, beans and broth absorb a lot of salt over a long simmer, so add salt in small pinches with a taste between each, then finish with a squeeze of lime or a splash of cider vinegar. If it is still flat, your chili powder may have lost its punch; check that it smells sweet and earthy, not dusty.
How spicy is this chili?
Mild to medium. Two tablespoons of a standard chili powder blend carries little heat, and the smoked paprika is sweet rather than hot. For more, add a diced jalapeno or cayenne with the spices; for less, use a mild blend or cut the chili powder to 1 tbsp and add extra paprika for colour.
Does chili taste better the next day?
Yes. A night in the fridge lets the spices distribute evenly and the tomatoes mellow, and the chili thickens as it stands. Cool it quickly, refrigerate it, and reheat it gently; it is one of the few dishes where the leftovers are the point.
How do I thicken chili that is too thin?
Simmer it uncovered for another 10 to 15 minutes first, since reducing the liquid is the least invasive fix. If it still runs, mash a ladleful of beans against the side of the pot, or whisk 1 tbsp of masa harina into cold water and stir it in, then cook for 5 minutes so the raw corn taste cooks out.
Can I freeze chili?
Yes, for up to 3 months. Cool it completely, portion it with headspace for expansion, and thaw it overnight in the fridge rather than on the counter. Expect the beans to be a little softer and the sauce a little thicker after freezing, neither of which hurts a chili.
Ask KitchenMind about this recipe
Tell it what’s different tonight — it works within the actual recipe.