- Prep
- 20 min
- Cook
- 45 min
- Total
- 65 min
- Serves
- 10
Ingredients
What you’ll need — tap to tick off as you go
- 200 g
- 100 g
- 80 g
- 40 g
- 12 g
- 7 g
- 6 g
- 10 g
- 380 ml
- 30 ml
- 1 tbsp
- 1 tbsp
Process
Timers built in · swap anything · ask as you cook
Grease a 900 g (9x5 inch) loaf tin with neutral oil and line the base with baking paper.
In a large bowl whisk together the white rice flour, brown rice flour, tapioca starch, potato starch, psyllium husk powder, instant yeast, fine salt and granulated sugar until evenly combined.
In a jug whisk the warm water, neutral oil, egg whites and apple cider vinegar.
Pour the wet mixture into the dry ingredients and beat with a sturdy spoon or hand mixer for 2 minutes until you have a thick, sticky, smooth batter with no dry pockets.
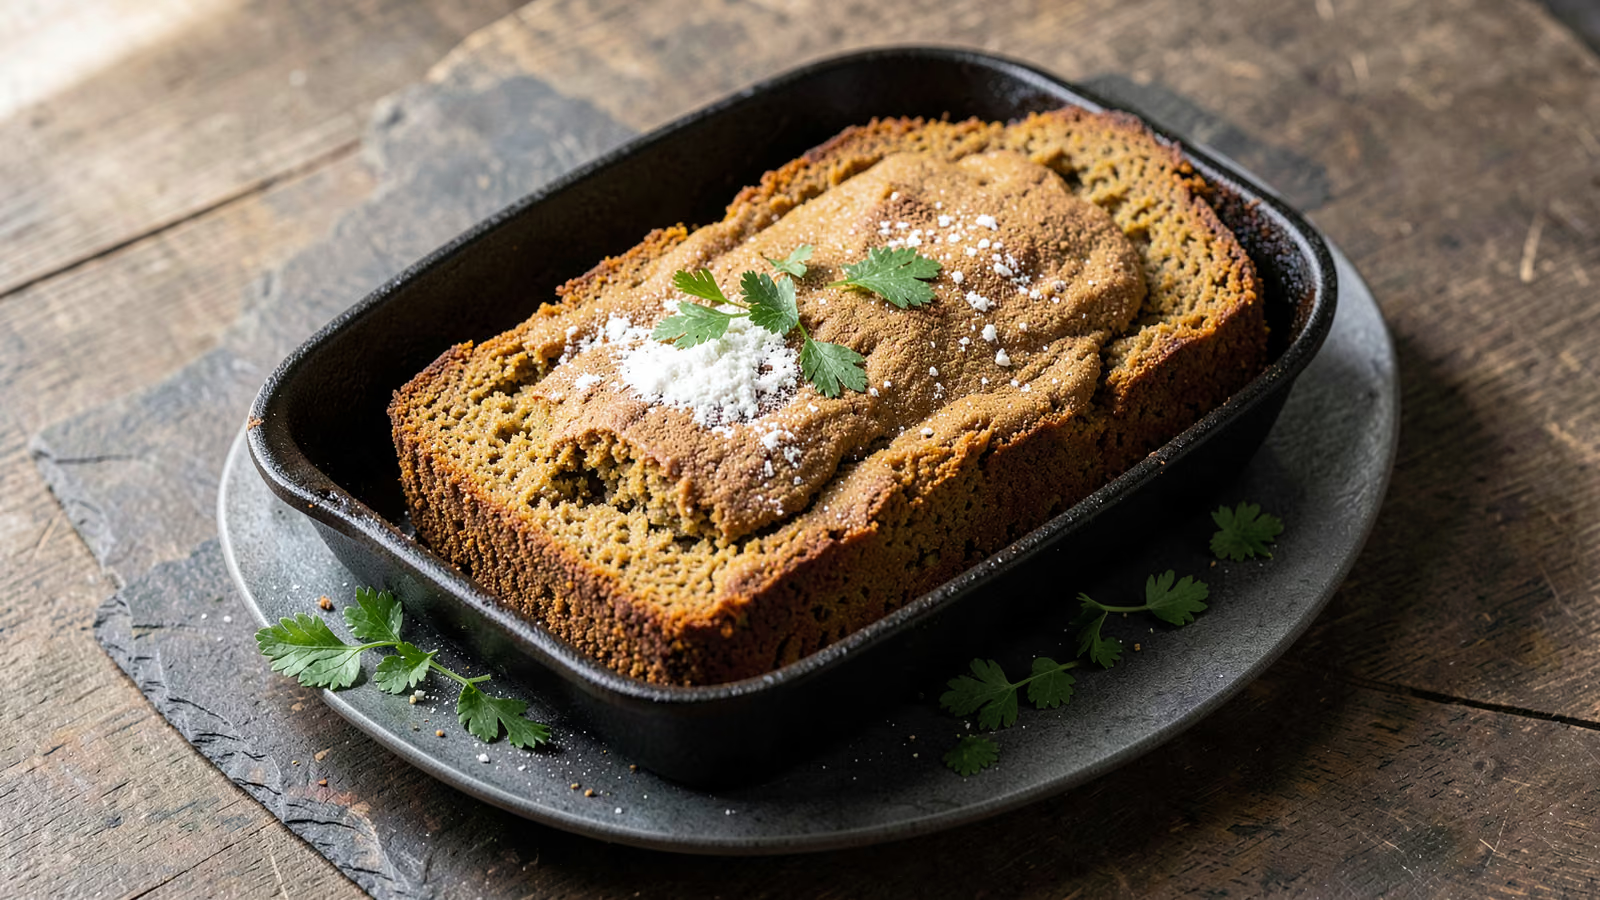
Scrape the batter into the prepared tin and smooth the top with a wet spatula; it will look like a thick muffin batter, not a kneadable dough.
Cover loosely with oiled cling film and leave in a warm spot for 45 to 60 minutes, until the batter has risen to just below the rim and small bubbles show on the surface.
Heat the oven to 200°C and brush the risen loaf with a little water, then scatter over the sesame seeds if using.
Bake for 20 minutes, then lower the oven to 180°C and bake for a further 25 minutes, until the top is deep golden and the loaf sounds hollow when tapped.
Check the internal temperature reaches 96°C; if not, bake 5 more minutes.
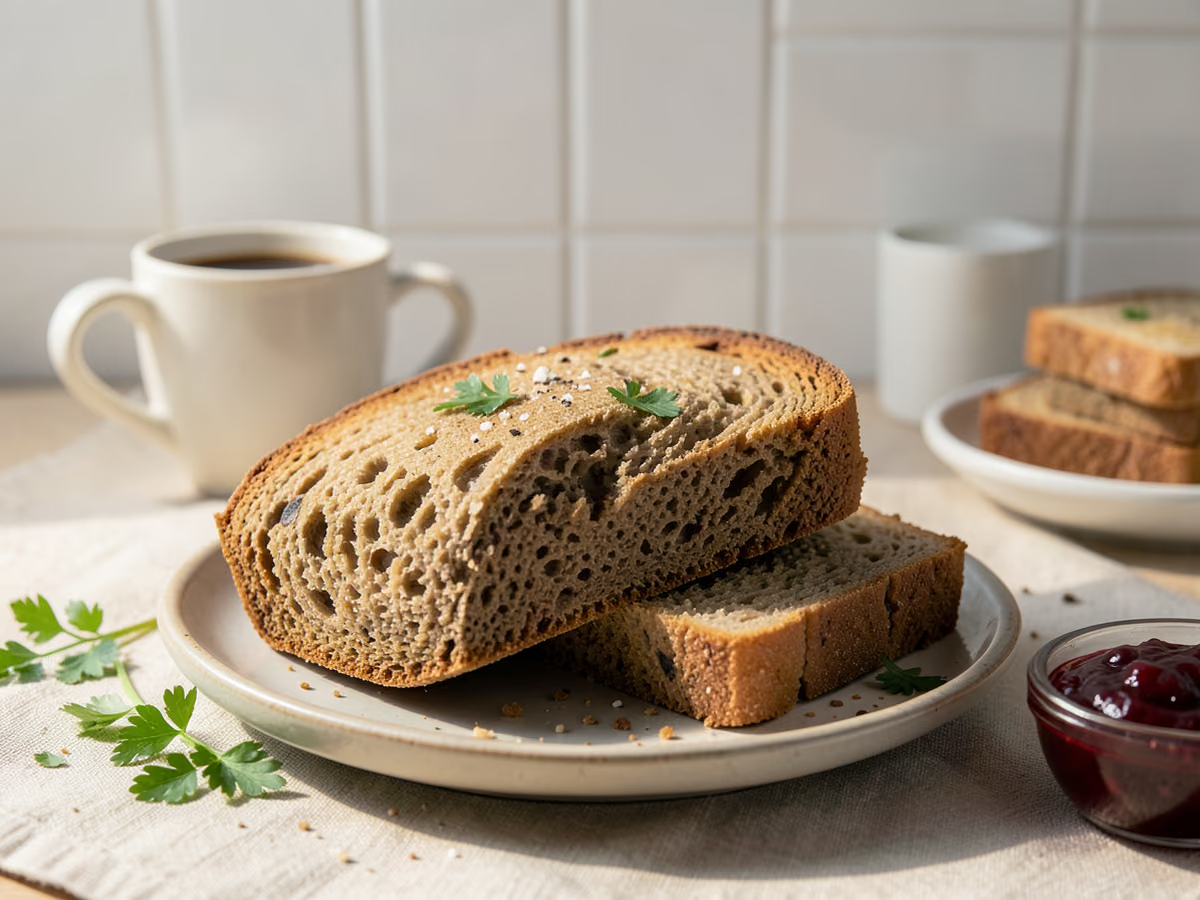
Cool in the tin for 10 minutes, then turn out onto a wire rack and cool completely for at least 1 hour before slicing.
Kitchen notes
Kitchen notes
- The most common mistake is slicing while hot: gluten-free crumb is still setting as it cools, so wait a full hour or the slices will gum together.
- Psyllium husk powder is what replaces gluten's stretch; if you only have whole husks, grind them to a fine powder or the loaf will be gritty and dense.
- The batter must be wetter than wheat bread dough. If it stands in a spoon without slowly falling, add warm water 1 tbsp at a time.
- A digital thermometer is the surest doneness test: 96°C in the centre means the crumb is set, whereas a golden top alone can still hide a raw middle.
Substitutions
- white rice flour→brown rice flour for a denser, nuttier loaf
- tapioca starch→cornstarch in the same weight
- neutral oil→melted coconut oil or olive oil
- apple cider vinegar→lemon juice
Storage & reheating
Keep the cooled loaf in an airtight container or zip-lock bag at room temperature for up to 2 days, or in the fridge for up to 5 days. For longer storage, slice it, wrap tightly and freeze for up to 3 months; toast slices straight from frozen. To refresh a whole loaf, wrap in foil and warm at 160°C for 10 minutes, and always toast individual slices rather than microwaving, which makes them rubbery.
FAQ
The questions we get asked most
Why did my gluten-free sandwich bread come out dense and gummy?
Almost always too much flour or too little water: gluten-free batters must be wet and sticky, like a thick muffin batter. Measure flours by weight, not cups, and add warm water a tablespoon at a time if the batter looks stiff. Slicing before it is fully cool also makes the crumb seem gummy.
Can I make this gluten-free bread without psyllium husk?
Psyllium is doing the job gluten normally does, so leaving it out gives a crumbly loaf that will not slice. If you cannot find it, use 20 g ground flaxseed mixed with 60 ml water as a gel, though the rise will be slightly lower. Do not simply omit it.
How do I know when gluten-free sandwich bread is fully baked?
The reliable test is an instant-read thermometer: the centre should read 96°C. The loaf should also be deep golden, pull away from the tin sides and sound hollow when tapped on the base. If the top browns before the middle is set, tent it with foil and continue baking.
Can I use a stand mixer or bread machine for this dough?
Yes, a stand mixer with the paddle attachment works well on medium speed for 2 minutes, which helps hydrate the flours evenly. In a bread machine, use the gluten-free or quick-bread cycle and scrape down the corners once. Either way the batter stays wet and is never kneaded like wheat dough.
Why did my loaf rise and then collapse in the oven?
Over-proofing is the usual cause: if the batter rises above the rim before baking, the structure cannot hold and it sinks. Let it come only to just below the rim, about 45 to 60 minutes in a warm kitchen. Opening the oven door early also drops the heat and can cause a collapse.
Can I freeze this gluten-free sandwich bread?
Yes, it freezes better than most gluten-free loaves. Cool completely, slice, then wrap in cling film and place in a freezer bag for up to 3 months. Toast individual slices from frozen, or thaw the whole loaf overnight in the fridge and refresh it wrapped in foil at 160°C for 10 minutes.
Can I swap the rice flours for a store-bought gluten-free blend?
You can, using 420 g of a plain all-purpose gluten-free blend in place of the rice flours, tapioca and potato starch. Choose a blend that already contains xanthan gum or psyllium, and reduce the psyllium husk powder here to 6 g so the loaf does not turn rubbery.
Ask KitchenMind about this recipe
Tell it what’s different tonight — it works within the actual recipe.