Chicken Parmigiana
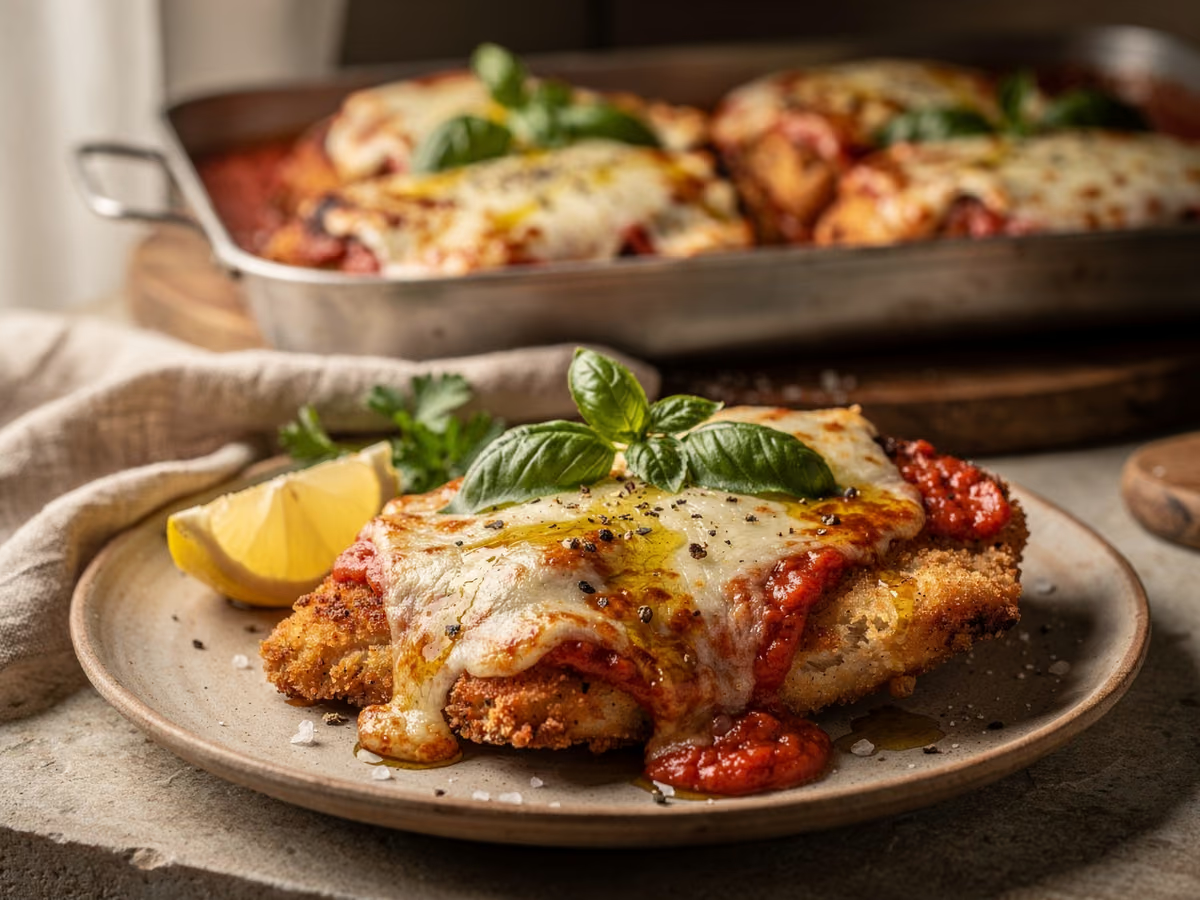
Chicken parmigiana, the Italian-American comfort classic, works because the cutlets take two short trips through heat: a fast pan-fry in olive oil that sets a deep golden crust, then a brief 200°C bake under tomato sauce and mozzarella whose only job is to melt and bubble. Four cutlets pounded to an even 1 cm, a three-dish breading station, and about 45 minutes from first chop to table, most of it hands-on rather than oven time. Restraint with the sauce is what keeps the coating crisp.
- Prep
- 20 min
- Cook
- 25 min
- Total
- 45 min
- Serves
- 4
Ingredients
What you’ll need — tap to tick off as you go
- 100 g
- 150 g
- 50 g
- 1 tsp
- ½ tsp
- 3 tbsp
- 400 g
- 200 g
Process
Timers built in · swap anything · ask as you cook
Heat the oven to 200°C. Lay each of the 4 chicken breasts between two sheets of plastic wrap and pound to an even 1 cm, working from the centre outwards, then season both sides with the 1 tsp salt and 0.5 tsp black pepper. A level cutlet cooks level: an uneven one dries at the edges before its centre is safe.
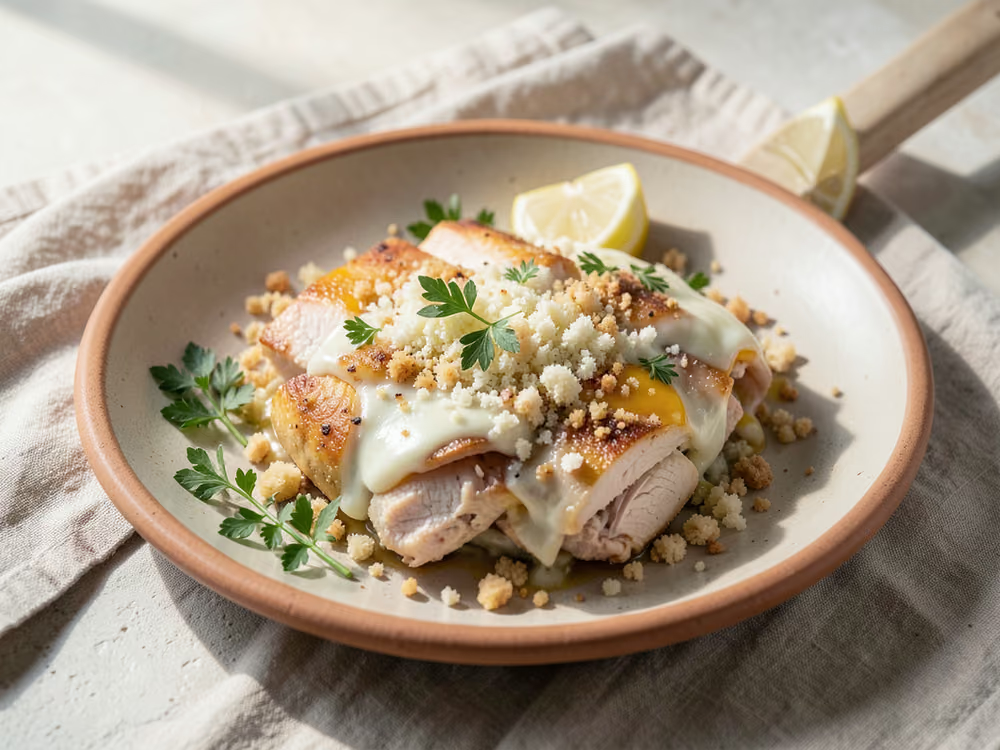
Set up three shallow dishes: 100 g all purpose flour in the first, the 2 beaten eggs in the second, and 150 g breadcrumbs mixed with half of the 50 g parmesan in the third. Use one hand for the dry dishes and one for the egg; it keeps your fingers from turning into breaded mitts halfway through the job.
Dredge each breast in the flour and shake off the excess, dip it right through the egg so every surface is glossy, then press it firmly into the crumb mix until the coating holds. Set the breaded pieces aside and start frying within a few minutes, while the crumb layer is still dry.
Heat the 3 tbsp olive oil in a large oven-safe skillet over medium-high until a pinch of crumbs sizzles the moment it hits. Fry the cutlets for 2 to 3 minutes per side, until deep golden and crisp at the edges, working in batches and leaving space between pieces; crowded cutlets steam and the coating slides off. The oven finishes the centre, so this stage is about colour and crust.
Spoon the 400 g tomato sauce over the cutlets in the skillet, or move them to a baking dish and sauce each piece, then scatter the remaining parmesan over the sauce and finish with the 200 g mozzarella. Sauce first, cheese last: the parmesan melts into the tomato, and the mozzarella on top browns and bubbles.
Bake at 200°C for 10 to 15 minutes, until the mozzarella is molten and spotty brown at the edges and the sauce bubbles up around the chicken. The thickest cutlet should read 74°C, the USDA FSIS minimum for poultry; pull the pan as soon as both are true, because every extra minute costs juiciness.
Let the pan stand for 5 minutes so the juices settle and the cheese firms enough to cut cleanly, then tear the 8 basil leaves over the top and serve. Five minutes is all a cutlet this thin needs; longer, and the crust starts to give up its crispness to the sauce.
Why this recipe works
Frying first is what lets the coating survive the sauce: hot oil drives the surface water out of the breadcrumbs and browns them before any tomato arrives, and the flour layer under the egg gives the crumb something to grip, so it does not slide off once the sauce goes on. Pounding all four breasts to a level 1 cm is not cosmetic: thin spots dry out before the thick centre reaches 74°C, the USDA FSIS minimum for poultry. The 200°C oven then has one job, melting and browning the cheese over a sauce thick enough to stay put, so chicken already cooked through by the fry only needs warming.
Equipment
- Large oven-safe skillet, 30 cm across, or a frying pan plus a 25 x 30 cm baking dish
- Three shallow dishes or pie plates for the flour, egg and crumbs
- Meat mallet, rolling pin or the flat side of a heavy pan for pounding
- Plastic wrap or a zip-top bag for pounding
- Instant-read thermometer
- Tongs and a thin spatula or fish slice
- Wire rack set over a tray for resting the fried cutlets
Kitchen notes
Kitchen notes
- Season the cutlets the moment they come out of the plastic wrap and let them sit while you set up the dishes; a few minutes of contact time seasons the meat itself rather than just the crust.
- Get the oil properly hot before the first cutlet goes in: a pinch of crumbs should sizzle and colour within seconds. The first fry sets the standard for the batch, and a weak start means pale, greasy crumbs for everything that follows.
- Hold finished cutlets on a wire rack, not on paper towels. Towels trap steam against the crust; a rack lets the underside breathe, so the coating stays crisp while the rest of the batch fries.
- Keep the dish in one oven-safe skillet if you can. If you must transfer to a baking dish, warm it first, because a cold dish pulls heat out of the chicken and stretches the baking time.
- The 400 g of sauce coats 4 cutlets lightly. If you like a wetter plate, keep some back and warm it separately for serving; flooding the pan before baking is the fastest way to a soggy coating.
- For a darker top, switch on the grill for the last stretch of the bake, but stand at the oven while it runs: cheese moves from bubbling to burnt with very little warning.
Common mistakes
- Dry, tough cutlets: uneven pounding, or a minute too long in the oven. Pound every breast to a level 1 cm, fry only to golden, and pull the pan as soon as the thickest piece reads 74°C; a hot skillet keeps cooking the chicken after it leaves the oven, so early is safer than late.
- Coating that slides off or leaves bare patches: wet chicken, loose crumbs, or breaded cutlets left waiting while the pan heats. Pat the meat dry, press the crumbs on firmly with your palm, and fry within a few minutes of breading.
- A soggy crust under the sauce: watery tomato sauce, weeping fresh mozzarella, or both at once. Simmer loose sauce down first, blot the mozzarella, spoon just enough to coat, and never stack the cutlets in the pan.
- Pale, greasy crust: the oil was not hot enough or the pan was crowded, so the cutlets steamed instead of frying. Wait for the crumb test to sizzle, keep a finger of space between pieces, and fry in batches rather than crowding all 4 at once.
- Cheese that slides off in one slab: thick pieces laid over a flood of sauce. Tear or shred the mozzarella, keep the layer light, and let the parmesan underneath act as the glue.
- Basil turned black and bitter: it went into the oven with everything else. Keep the 8 leaves back and tear them over the dish after baking, where the residual heat is enough to release their oils.
Serving suggestions
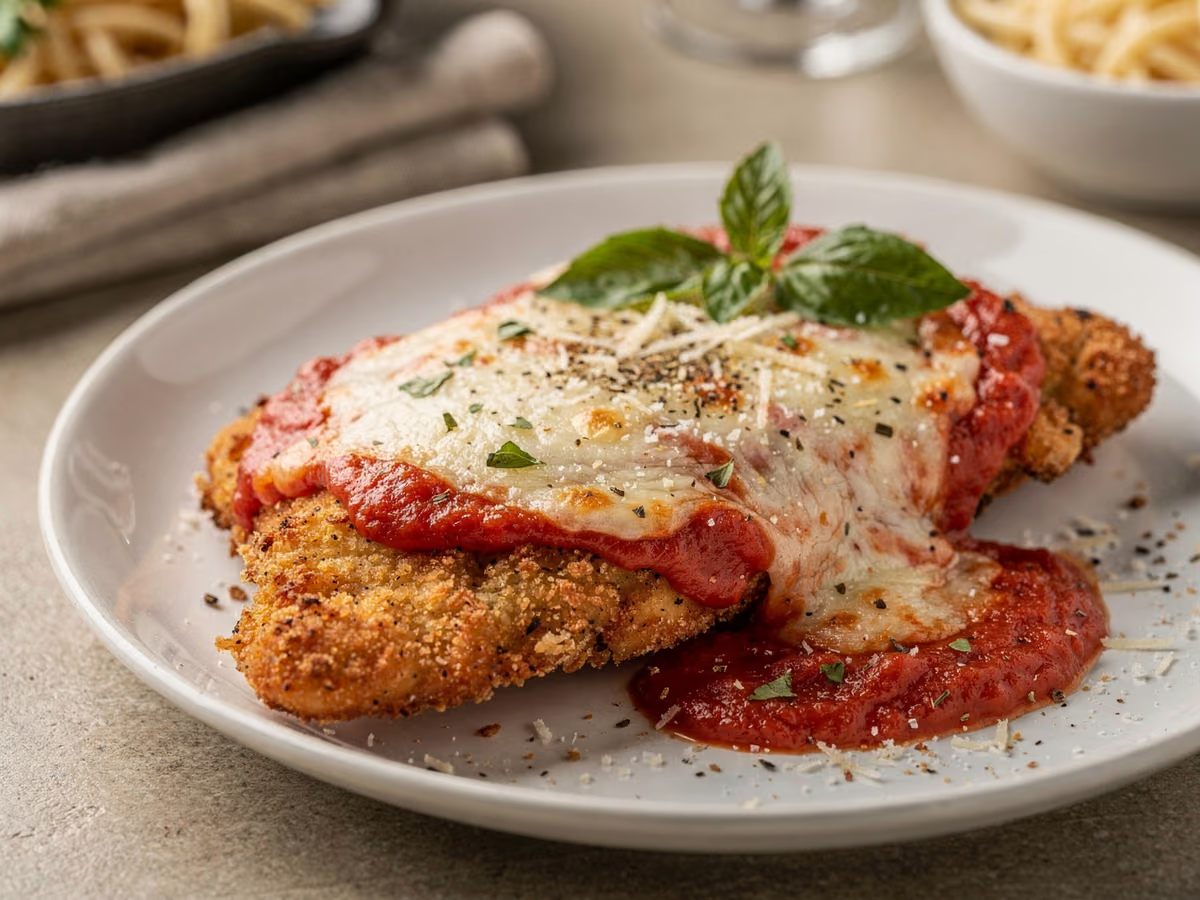
- Serve one cutlet per person, straight from the pan while the cheese is molten, with spaghetti and a spoonful of warm sauce, or with crusty bread to mop up.
- Warm the plates if you can: the sauce and cheese begin to set as soon as the pan leaves the oven, and a hot plate keeps the dish at its best through the first few minutes at the table.
- A sharply dressed green salad, heavy on vinegar and salt, is the counterweight the fried coating wants; serve it alongside rather than as a starter.
- Cold or reheated leftovers slide into a crusty roll with extra basil for a parm sandwich, the classic next-day move.
Variations
- Grill finish: fry the cutlets as written, then run the pan under a preheated grill instead of the full oven bake, until the cheese blisters and the centre of the chicken is hot. The result is faster and the topping darker; stay at the oven while it runs.
- Thigh version: boneless, skinless thighs, the same 4 pieces pounded thin, in place of the breasts. They stay juicy a shade longer in the oven and take the same breading, pan-fry and 74°C target.
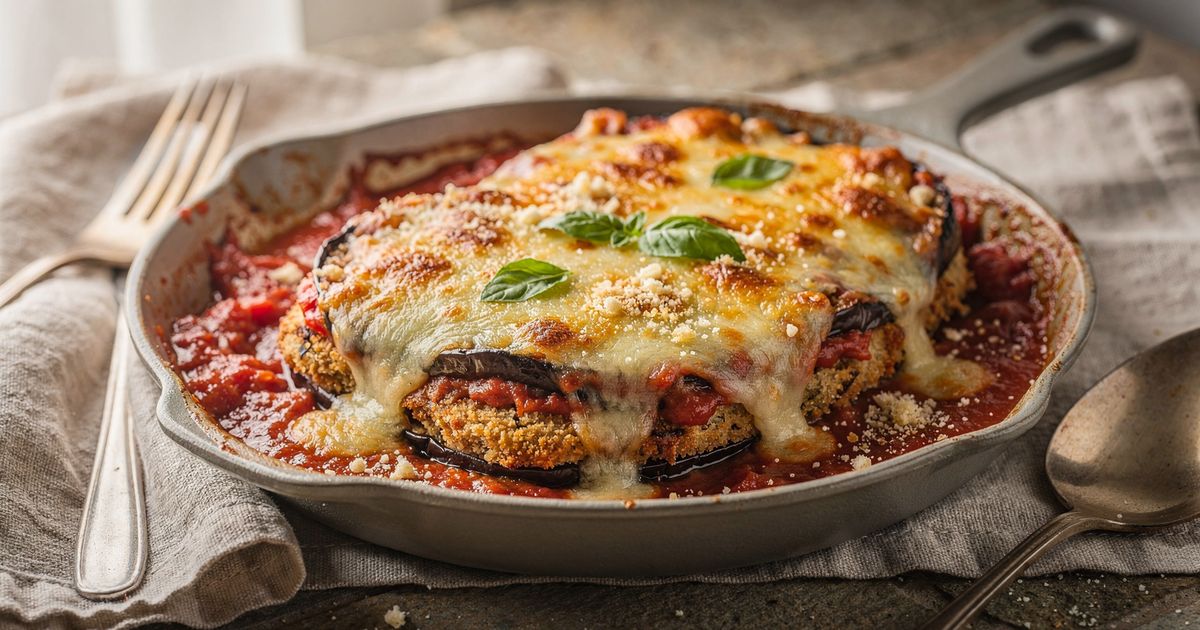
- Aubergine parmigiana, a different classic: the same breading, fry and bake treatment with aubergine slices in place of the chicken. Salt the slices and let them drain first, because aubergine drinks oil, and expect a softer, meat-free bake.
Refrigerator
- RefrigeratorCool and refrigerate within 2 hours, the USDA FSIS limit for cooked food, in an airtight container for up to 3 days. Keep the chicken separate from any pasta; stored together, the coating turns soft and pasty.
- ReheatingReheat on a rack or lined tray in a 180°C oven for 10 to 12 minutes, until the centre of the thickest cutlet reads 74°C. The oven brings some crispness back; a microwave leaves the breading rubbery and the cheese stringy in the wrong way.
- FreezingUp to 2 months. Cool the cutlets, wrap each one tightly in plastic wrap and then foil, and thaw overnight in the fridge. Freeze them without a pool of sauce and add warmed sauce when you reheat.
- Make aheadBread the cutlets up to 4 hours ahead and refrigerate them covered, or assemble the whole dish unbaked up to 24 hours ahead. Bake straight from the fridge, adding about 5 minutes to the oven time and checking the centre reaches 74°C, and add the basil only after baking. For the crispest crust, though, bread and fry in the same sitting: the make-ahead window is for planning, not for a better result.
Updated:
How this recipe was developed
- USDA FSIS safe minimum internal temperature chart (poultry 74°C; reheated leftovers 74°C)
- USDA FSIS leftovers and food safety guidance (refrigerate within 2 hours; 3 to 4 days in the fridge)
- BBC Food, Anna Del Conte chicken parmigiana (flattened chicken coated in egg and breadcrumbs, fried until crisp, then baked with tomato sauce and mozzarella at 220°C/200°C fan)
- NYT Cooking chicken parmesan (breaded cutlets fried golden in a shallow layer of oil, layered with tomato sauce, parmesan and mozzarella and baked; leftovers refrigerated up to 3 days)
Editorial references are kept internally for verification. This page makes no claim of external certification or professional testing.
Gallery
FAQ
The questions we get asked most
Why did my chicken parmigiana turn out dry and tough?
Almost always thickness and timing. If a cutlet is thicker than 1 cm in places, the thin parts overcook before the centre is safe, and baking past 74°C squeezes out moisture. Pound to an even 1 cm, fry for colour only, and take the pan out the moment the thickest piece reads 74°C.
Should the breaded cutlets rest before they go in the pan?
Opinions differ, and both routes work: a short rest lets the coating hydrate and grip, but a damp crumb layer fries up softer and can slip off in patches. For thin cutlets this recipe goes the other way and fries them within a few minutes of breading, while the coating is still dry; if you do rest them, keep the rest short and refrigerated.
Can I use canned or jarred tomato sauce?
Yes, the same 400 g of a good plain sauce works well. Choose one that is not loaded with sugar or heavy herbs, and if it looks watery, simmer it down first; loose sauce is the most common reason a crust goes soggy.
How do I know when the chicken is fully cooked?
Use an instant-read thermometer in the thickest part of a cutlet: 74°C is the USDA FSIS minimum for poultry. The other signals are clear juices, opaque white meat with no pink, and cheese that is melted and bubbling; if you have no thermometer, cut into the thickest piece to check.
Why is my coating soggy instead of crisp?
Three usual suspects, all moisture: chicken that was not patted dry, sauce that was too loose, and fresh mozzarella weeping as it melts. Dry the chicken, reduce or blot the sauce, drain the mozzarella, and fry the cutlets to a deep golden colour before they ever see the oven.
Can I freeze chicken parmigiana, and how do I reheat it?
Yes, for up to 2 months: wrap cooled cutlets tightly in plastic and foil, then thaw overnight in the fridge. Reheat uncovered at 180°C for 10 to 12 minutes until the centre reaches 74°C, with or without sauce and cheese; the oven keeps the crust closer to crisp than a microwave does.
Can I make it ahead of time?
Yes, in two stages. Bread the cutlets up to 4 hours ahead and refrigerate them covered, or assemble the dish unbaked up to 24 hours ahead. Bake it straight from the fridge with about 5 minutes added, checking the centre reaches 74°C, and add the basil after baking.
Ask KitchenMind about this recipe
Tell it what’s different tonight — it works within the actual recipe.