Oven-Baked BBQ Chicken
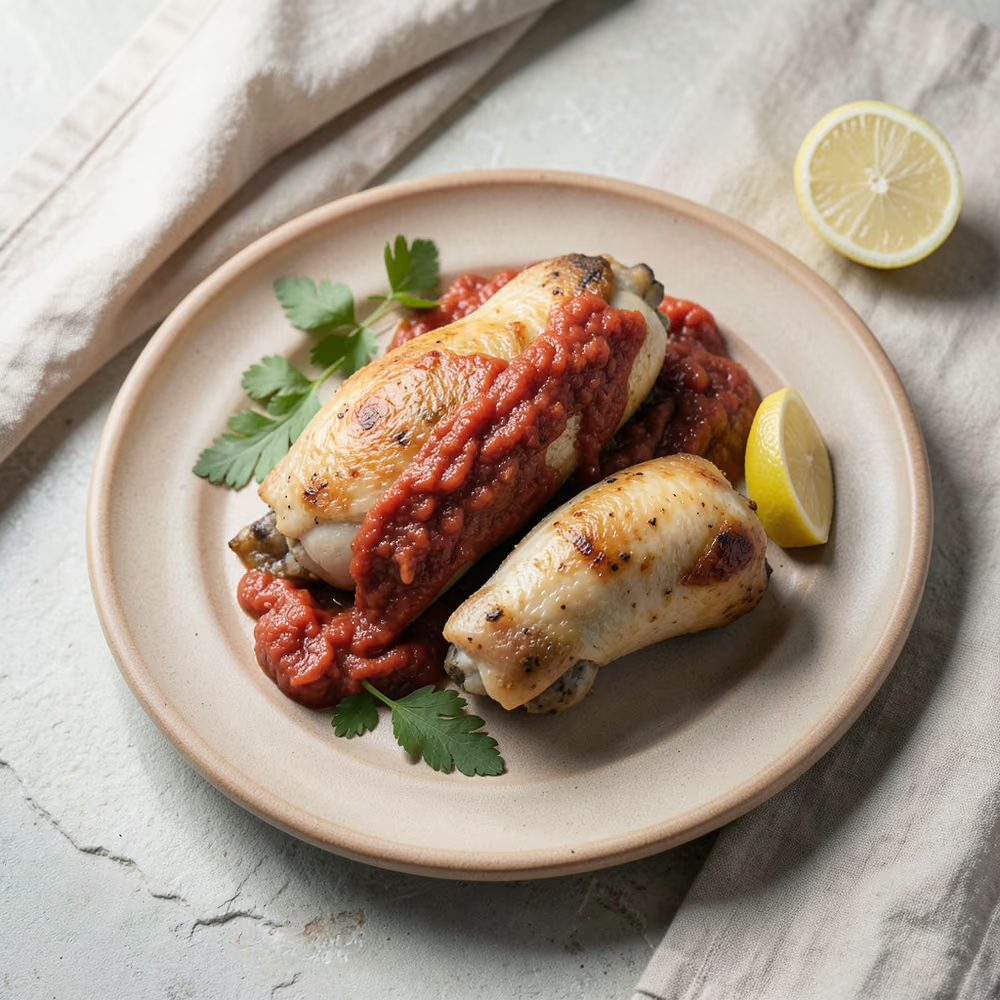
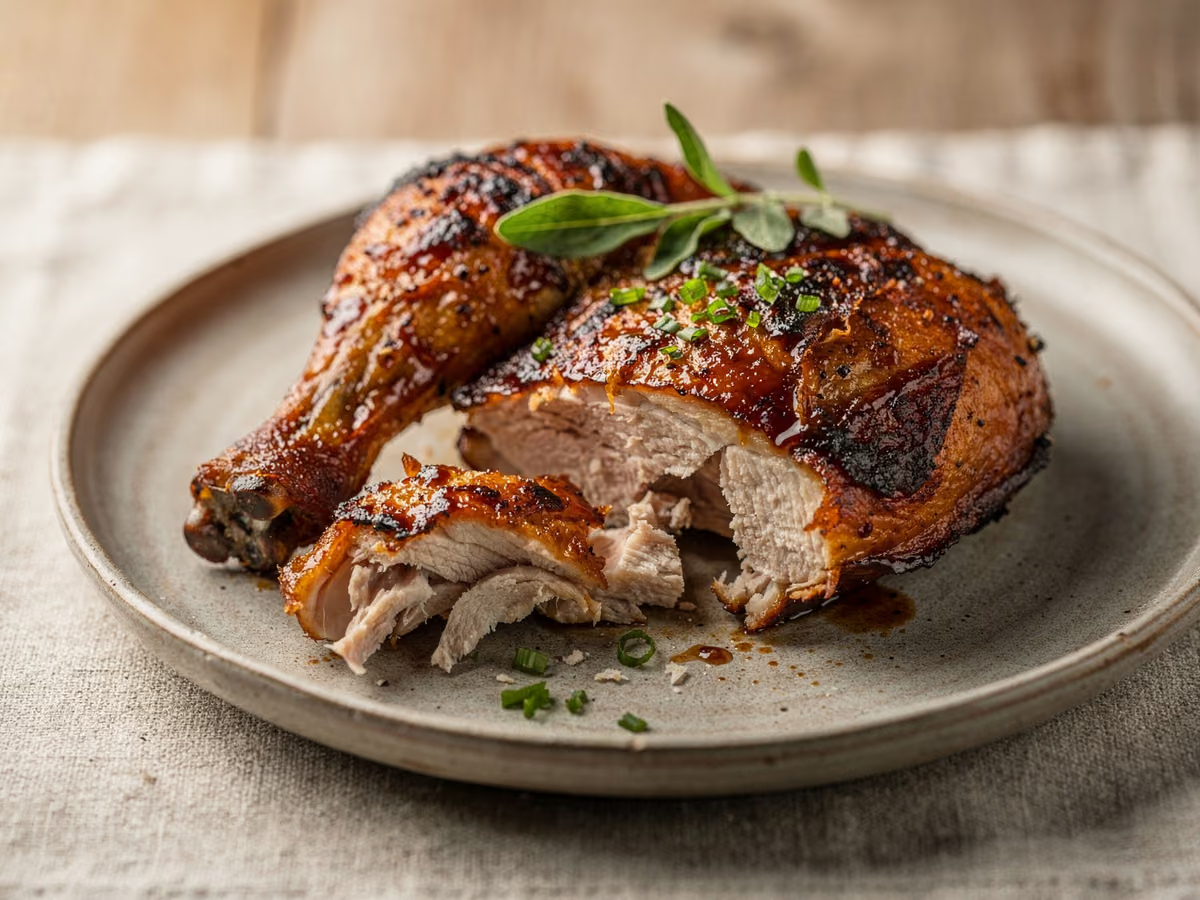
Oven-baked BBQ chicken with a sticky, lacquered glaze and no grill to light: 8 bone-in, skin-on thighs are coated in a homemade sauce built from tomato paste, brown sugar, apple cider vinegar, soy sauce and smoked paprika, then baked at 200°C in two stages so the first coat sets into the skin and the second caramelises on top. Prep is 15 minutes and the oven does the rest in about 45, with one quick brush halfway, which makes this a weeknight dinner that tastes like a slow afternoon.
- Prep
- 15 min
- Cook
- 45 min
- Total
- 60 min
- Serves
- 4
Ingredients
What you’ll need — tap to tick off as you go
- 3 tbsp
- 2 tbsp
- 2 tbsp
- 1 tbsp
- 1 tsp
- 1 tsp
- 1 tsp
- ½ tsp
- 1 tsp
- 1 tbsp
Process
Timers built in · swap anything · ask as you cook
Heat the oven to 200°C and line a rimmed baking sheet with foil or parchment, then oil the lining lightly. The glaze is sugary and will weld itself to a bare tray; the lining is what saves you from scrubbing. Keep a rack in the middle position.
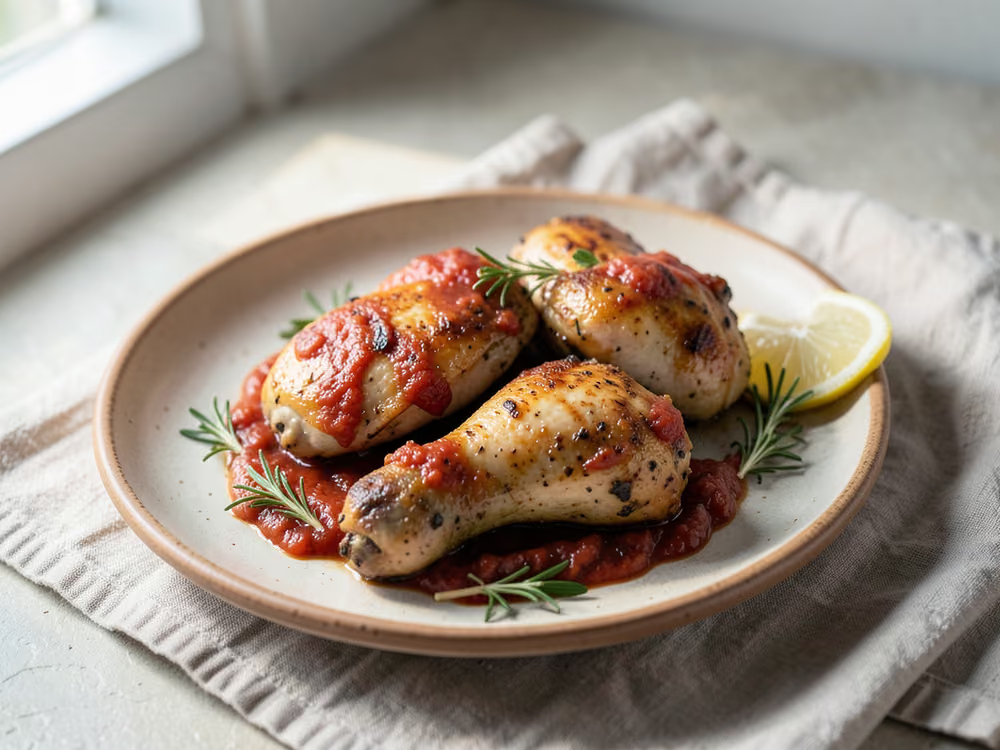
Whisk the 3 tbsp tomato paste, 2 tbsp brown sugar, 2 tbsp apple cider vinegar, 1 tbsp soy sauce, 1 tsp smoked paprika, 1 tsp garlic powder, 1 tsp onion powder, 0.5 tsp black pepper and 0.5 tsp salt in a small bowl until smooth and glossy. Taste it: it should be sweet first, then sour and salty, and that balance is what survives the oven.
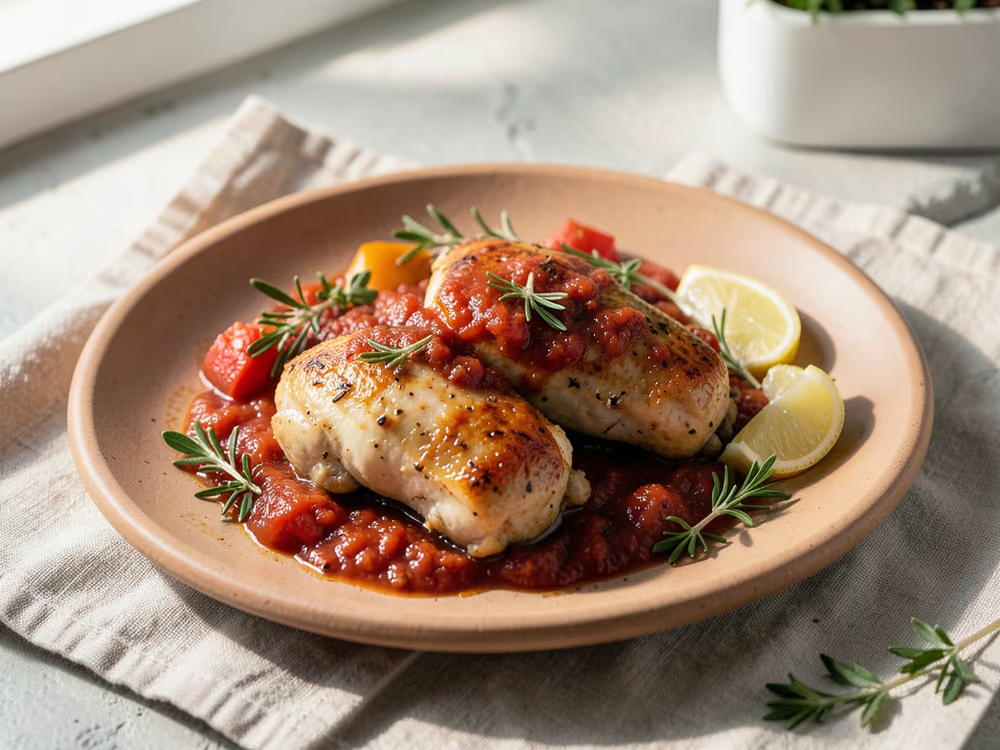
Pat the 8 thighs completely dry with paper towels, then season both sides with the remaining 0.5 tsp salt. Dry skin is the difference between a lacquered finish and a tray of steam: any surface moisture has to cook off before the skin can brown.
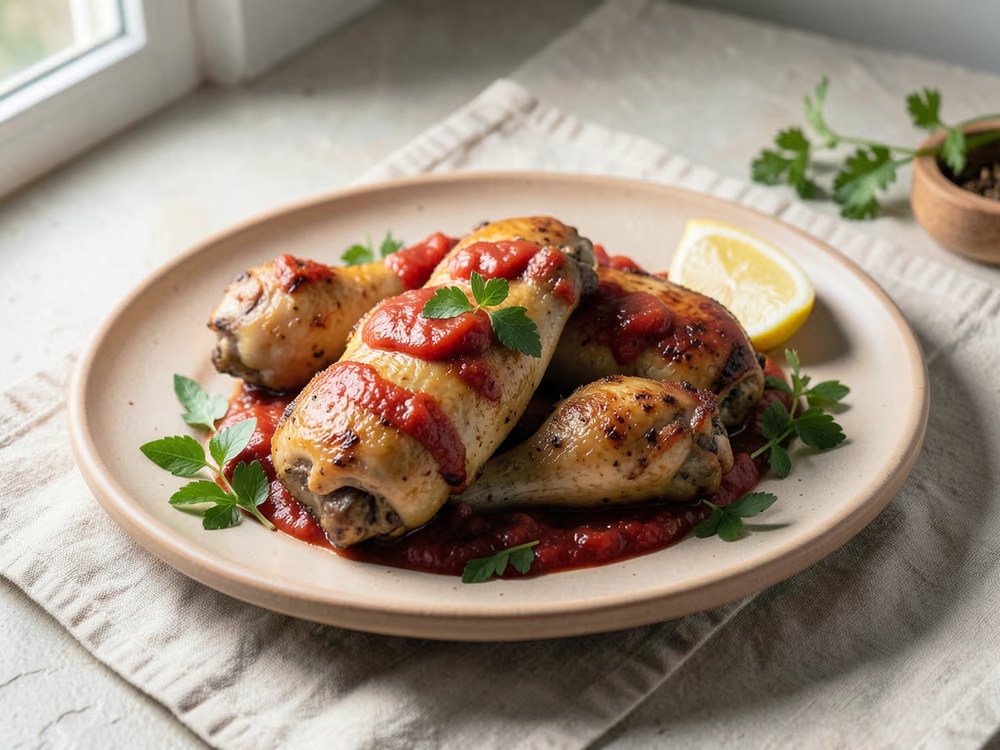
Brush the thighs lightly with the 1 tbsp olive oil and arrange them skin-side up on the prepared sheet, leaving space between the pieces. Crowding steams the chicken and softens the skin, so use a second sheet if the tray is tight.
Brush a generous layer of the sauce over the top of every thigh, using only about half of it and keeping the rest back for later. This first coat bakes into the surface over the next 25 minutes and becomes part of the chicken; the second coat is the glaze.
Bake for 25 minutes on the middle rack. The sauce will set, darken at the edges and smell toasted; the chicken is not done yet, which is exactly why the second coat waits until now.
Pull the tray out and brush each thigh with more sauce, then return it to the oven for 15 to 20 minutes, until the glaze is sticky and burnished and an instant-read thermometer in the thickest part of a thigh, away from the bone, reads 74°C. If the glaze is browning too fast, tent the tray loosely with foil.
Move the chicken to a platter and let it rest for 5 minutes, then brush with any remaining sauce and serve. The rest lets the juices settle back into the meat, and a final brush on hot chicken goes glossy and thin, more of a finish than a coating.
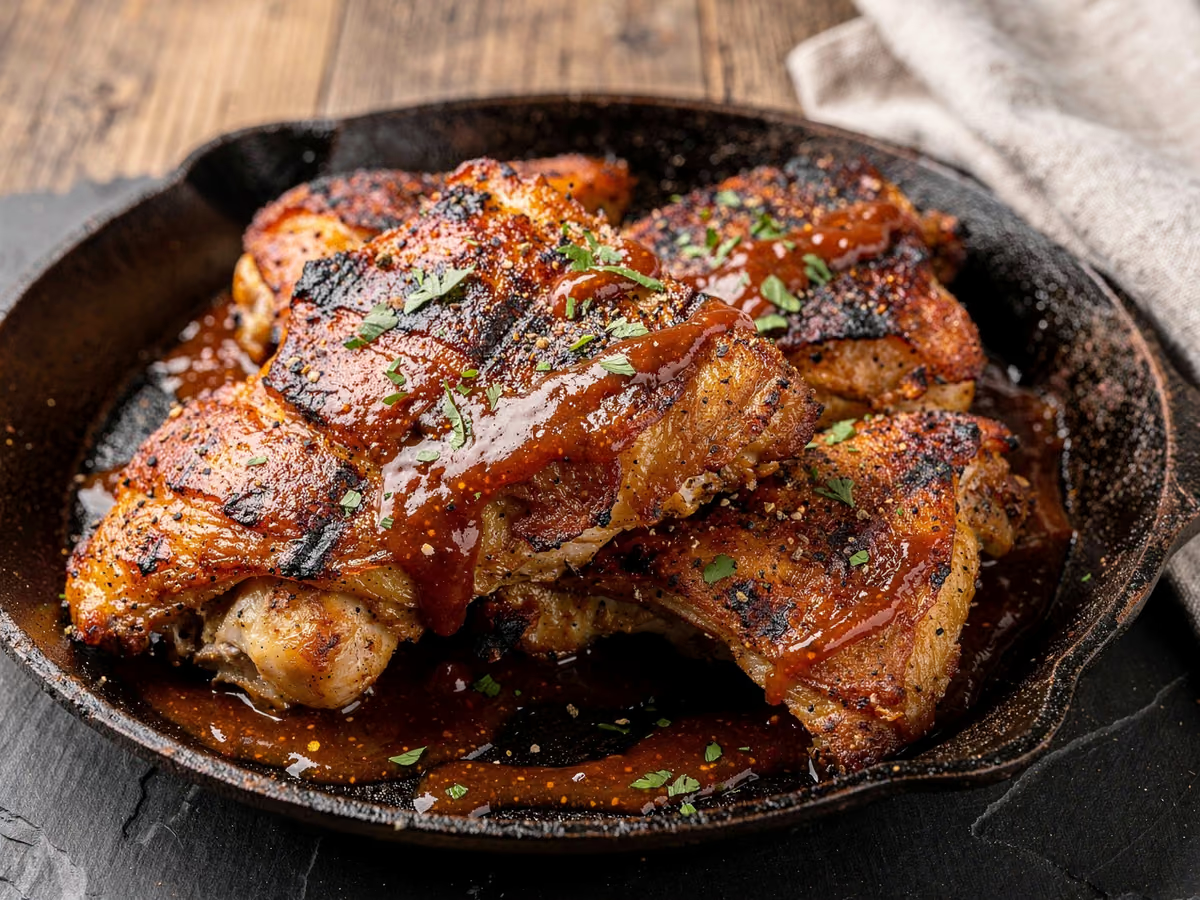
Why this recipe works
Chicken thighs are the forgiving cut here: bone-in, skin-on pieces stay juicy across the whole bake, and their fat renders slowly at 200°C, basting the meat from underneath as it roasts. The sauce works because it goes on in two stages rather than all at once. The first coat is brushed on raw and bakes into the surface for 25 minutes; the second goes on when the chicken is nearly done, so the brown sugar and tomato paste caramelise into a glossy lacquer in the final 15 to 20 minutes instead of scorching black. Soy sauce and apple cider vinegar give the glaze its savoury-sour backbone, and smoked paprika supplies the smokiness the oven cannot.
Equipment
- Rimmed baking sheet, large enough for 8 thighs in one layer
- Aluminium foil or parchment paper
- Small bowl and whisk, for the sauce
- Pastry brush or silicone brush
- Instant-read thermometer
- Paper towels
- Tongs
Kitchen notes
Kitchen notes
- Split the sauce into two bowls before you brush anything: one that touches the raw thighs in the first coat and one clean bowl for the second coat and the final brush. The glaze applied after baking stays pristine, and you never have to think about it again.
- For crisper skin, set the thighs on a wire rack over the lined sheet so rendered fat drips away instead of pooling around them; the glaze still clings, and the undersides do not stew.
- Mix the sauce up to 3 days ahead and keep it covered in the fridge; bring it back to room temperature before brushing so it spreads instead of sitting in cold clumps.
- Ovens run hot or cool, so treat 25 plus 15 to 20 minutes as a guide and the 74°C reading as the rule; start checking the temperature 15 minutes into the second bake rather than at the end.
- If you reheat leftovers in the oven, brush them with a little fresh sauce first. The second bake sets a new glaze and the meat comes back juicy instead of dry.
- For a faked-char finish, slide the tray under the broiler for the last couple of minutes of the bake and watch it the whole time; in a sugary glaze the line between blistered and burnt is very short.
Common mistakes
- Dry, stringy chicken: the thighs baked past 74°C. Pull them the moment the thermometer reads 74°C in the thickest part, away from the bone; thighs overshoot quickly in a hot oven, and the last few minutes cost the most.
- Black, bitter glaze: sauce brushed on too early or too heavily. Bake the first coat for the full 25 minutes before the second goes on, keep the layers thin, and tent the tray with foil if the glaze darkens faster than the chicken cooks.
- Soggy skin and a watery tray: the chicken went in wet, or the pieces were packed together. Pat the thighs dry, space them out, and remember that steam is the enemy of a lacquered finish.
- Chicken stuck to the sheet: the lining went in dry. Oil the foil or parchment lightly before the thighs go down so the glaze releases with the chicken instead of staying on the tray.
- A sauce that tastes flat or one-note sweet: the vinegar was shorted or left out. Taste the sauce before brushing; it should be sweet first, then sour and salty, and a splash more vinegar fixes it before it ever reaches the chicken.
- Uneven cooking, some pieces done long before others: thighs of different sizes, or hot spots in the oven. Rotate the tray front to back when you take it out for the second coat, and probe more than one piece.
Serving suggestions
- Serve 2 thighs per person, hot, with the extra sauce brushed over at the table; the glaze tightens as it cools, so bring the platter out of the kitchen just before eating.
- Classic sides are anything that can catch a spoonful of sauce: coleslaw, baked potatoes, rice, or corn on the cob.
- Iced tea, lemonade or sparkling water with lime suits the sweet-smoke glaze far better than anything heavier.
- Cold leftovers slice beautifully into sandwiches or wraps with a little of the sauce; the smoky glaze works as the spread.
Variations
- Grill finish: start the thighs in the oven as written, then move them to a medium-hot grill for the last few minutes, turning and brushing, for real char over the glaze.
- Hotter glaze: add a pinch of cayenne or finely minced chipotle to the sauce, or use hot paprika in place of sweet, for a finish with a kick behind the smoke.
- Extra-saucy for the table: mix a second batch of the sauce and serve it warmed and thinned with a splash of water on the side; the recipe's single batch is built to glaze, not to pool.
Refrigerator
- RefrigeratorCool the chicken within 2 hours of cooking, then refrigerate it airtight for up to 4 days; USDA FSIS allows 3 to 4 days for cooked poultry leftovers, and the glaze keeps the meat from drying out.
- ReheatingReheat in a 180°C oven for 10 to 12 minutes, until the glaze is sticky again and the thickest piece reads 74°C. Avoid the microwave, which turns the skin flabby and steams the glaze into the meat.
- FreezingUp to 3 months. Wrap each cooled thigh tightly, bag the pieces, and thaw overnight in the fridge before reheating. The skin will never come back crisp, so expect a softer, more sauce-soaked result.
- Make aheadThe sauce can be mixed up to 3 days ahead and kept covered in the fridge; bring it to room temperature before brushing so it spreads evenly. The baked chicken is best within a day or two, but it reheats well enough to justify baking a double tray.
Updated:
How this recipe was developed
- USDA FSIS safe minimum internal temperatures (all poultry 74°C; reheated leftovers 74°C)
- USDA FSIS, Chicken from Farm to Table: colour is not a safety test; pigment near the bone can darken even when the chicken is cooked, and only a 74°C thermometer reading shows it is done
- Serious Eats, The Food Lab: The Best Barbecue Chicken: barbecue sauce applied in thin layers late in cooking dries to a tacky glaze that caramelises instead of burning
- USDA FSIS leftovers guidance: refrigerate within 2 hours of cooking; refrigerated leftovers keep 3 to 4 days
Editorial references are kept internally for verification. This page makes no claim of external certification or professional testing.
Gallery
FAQ
The questions we get asked most
Why did my BBQ chicken turn out dry?
Overcooking is the cause, almost every time. Thighs are safe at 74°C, so use an instant-read thermometer and pull them as soon as the thickest part, away from the bone, reads it; the gap between juicy and dry in a 200°C oven is only a few minutes.
Can I use chicken breasts instead of thighs?
Yes, but they cook faster and leaner. Use boneless, skinless breasts and plan on about 20 to 25 minutes in total, checking for 74°C, with the sauce brushed on only in the last 10 minutes so it does not burn.
How do I know when the chicken is fully cooked?
74°C in the thickest part of the thigh, not touching the bone, with juices that run clear and meat that is opaque throughout; if you have no thermometer, cut into the thickest piece to check. Dark or pink-tinged meat close to the bone is normal in young birds and is not a sign of undercooking, because the thermometer, not the colour, is the test.
Can I make the BBQ sauce ahead of time?
Yes, mix it up to 3 days in advance and keep it covered in the fridge. Let it come back to room temperature before brushing so it spreads easily over the chicken.
How long can I keep leftovers in the fridge?
Up to 4 days in an airtight container in the fridge. Reheat in a 180°C oven until the chicken reaches 74°C again, about 10 to 12 minutes.
Is this BBQ sauce gluten-free?
Not as written: regular soy sauce contains wheat. Use tamari at the same 1 tbsp and the rest of the sauce, plus the chicken itself, is naturally gluten-free.
How spicy is this chicken?
Mild. Smoked paprika is gently smoky rather than hot, and the brown sugar rounds off the edges, so the glaze reads sweet and savoury with a whisper of warmth. Add cayenne or minced chipotle to the sauce if you want heat.
Ask KitchenMind about this recipe
Tell it what’s different tonight — it works within the actual recipe.