Chicken Katsu with Rice
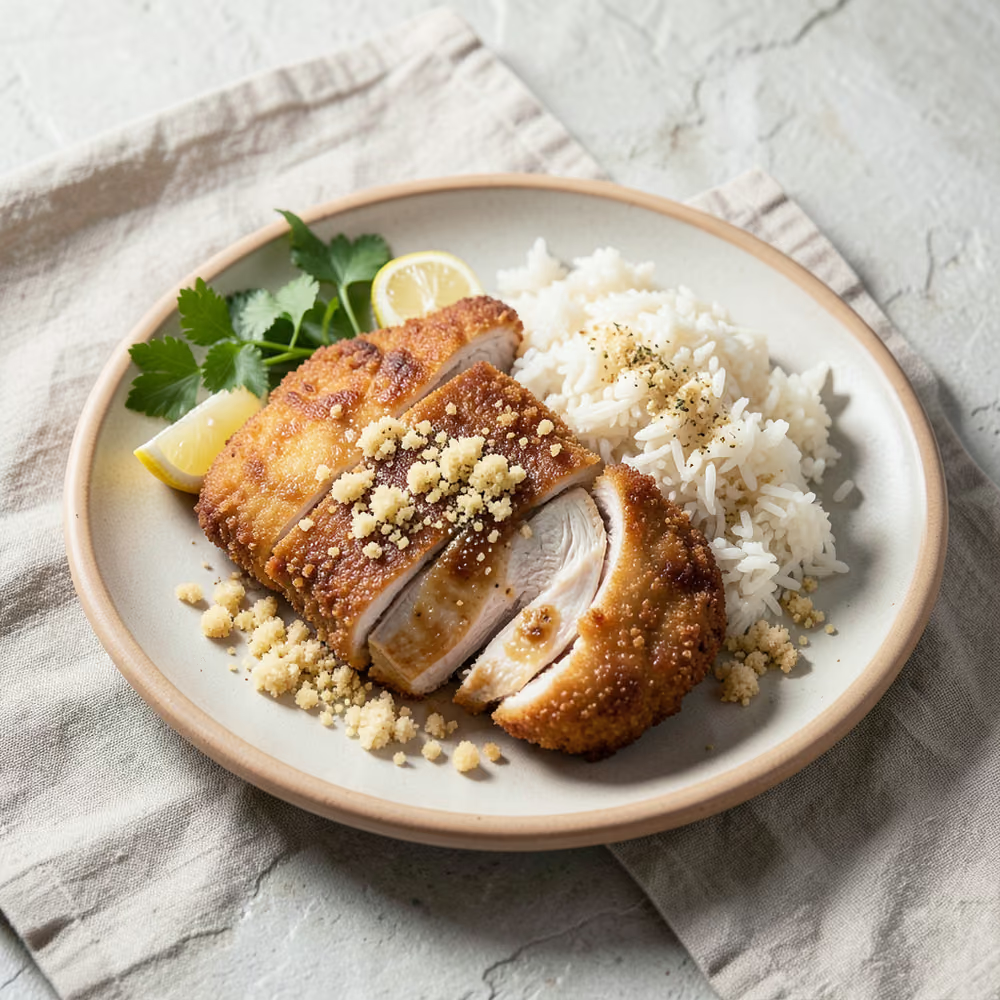
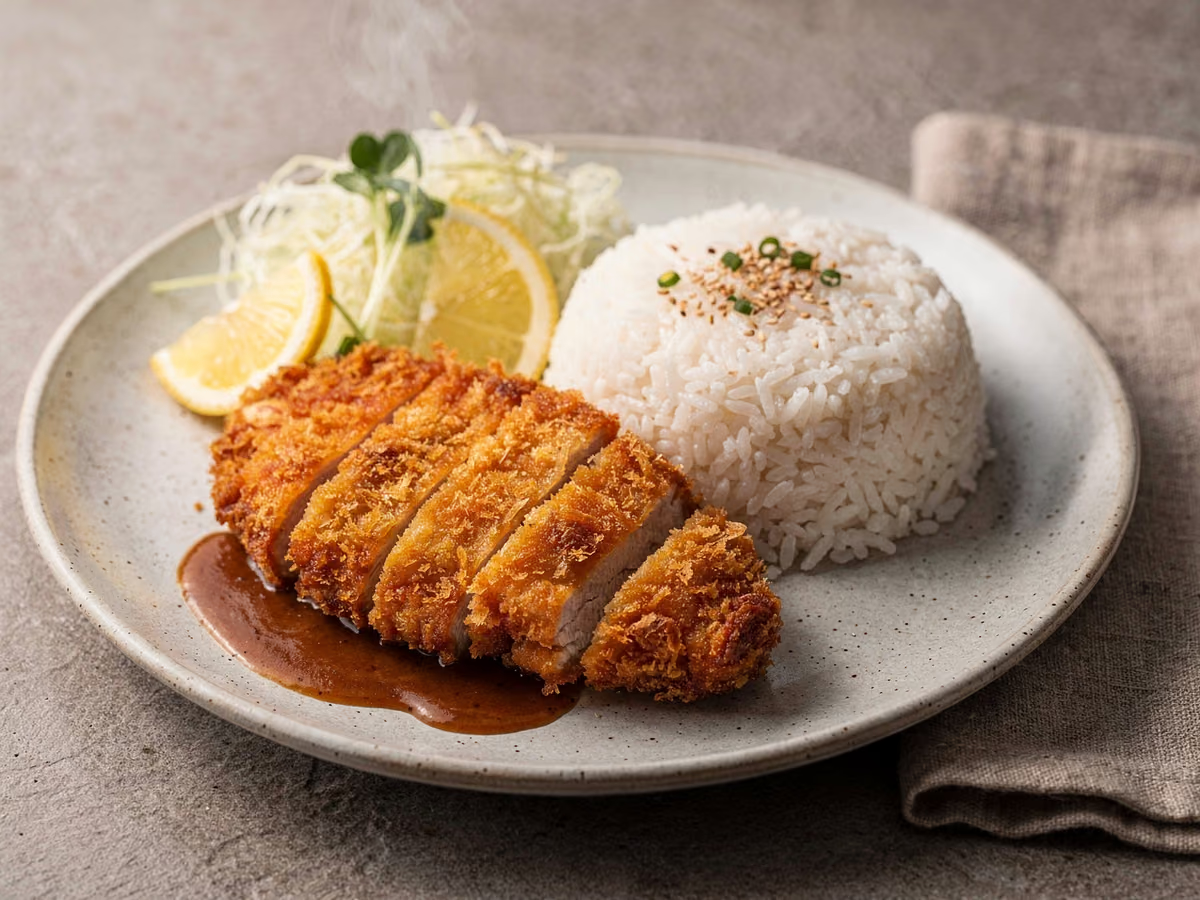
Chicken katsu is Japan's crisp, breaded cutlet: 4 boneless breasts pounded to an even 1 cm, dredged through flour, egg and 200 g of panko, then shallow-fried at 180°C until the crust shatters and the meat inside stays juicy. It lands on 600 g of steamed rice with 120 ml of katsu sauce and a pile of finely shredded cabbage. Prep runs about 20 minutes, the frying about 15, and the only real skill is keeping the oil steady.
- Prep
- 20 min
- Cook
- 15 min
- Total
- 35 min
- Serves
- 4
Ingredients
What you’ll need — tap to tick off as you go
- 1 tsp
- ½ tsp
- 100 g
- 200 g
- 500 ml
- 600 g
- 120 ml
- 200 g
Process
Timers built in · swap anything · ask as you cook
Lay each of the 4 chicken breasts between two sheets of plastic wrap and pound with a meat mallet from the middle outwards to an even 1 cm. A level cutlet is the difference between chicken that cooks through in 3 minutes per side and a piece with grey centres and sawdust edges.
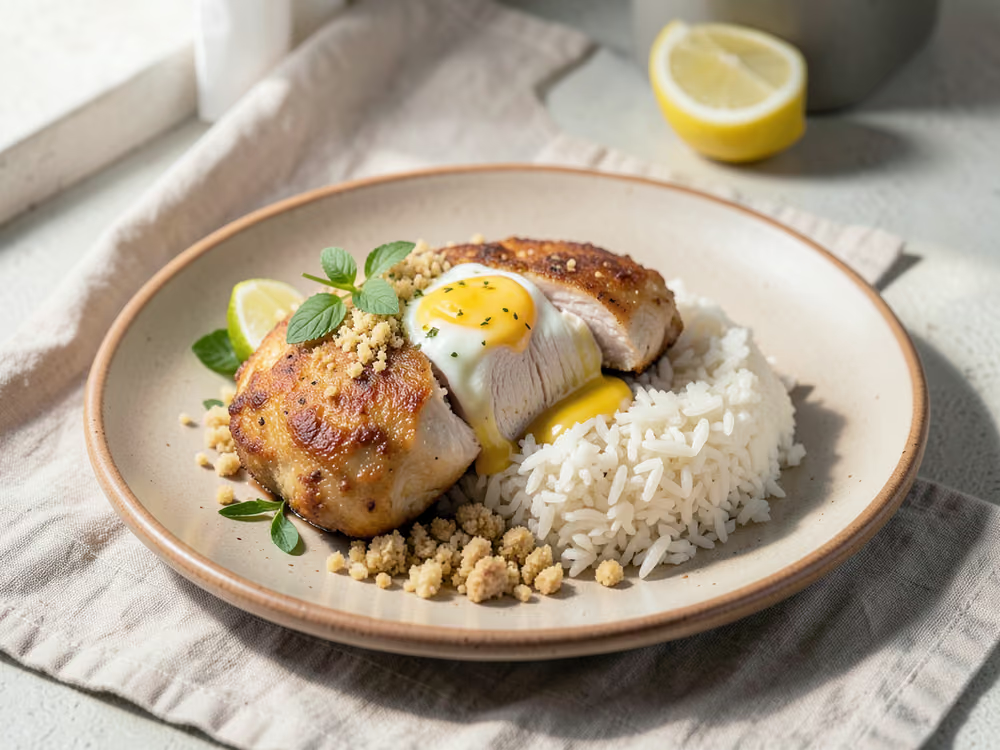
Season both sides of the cutlets with the 1 tsp salt and 0.5 tsp black pepper, then line up three wide shallow dishes: the 100 g all purpose flour, the 2 beaten eggs and the 200 g panko breadcrumbs, in that order. Blot the meat dry first, because flour clings to dry surfaces and slides off damp ones straight into the oil.
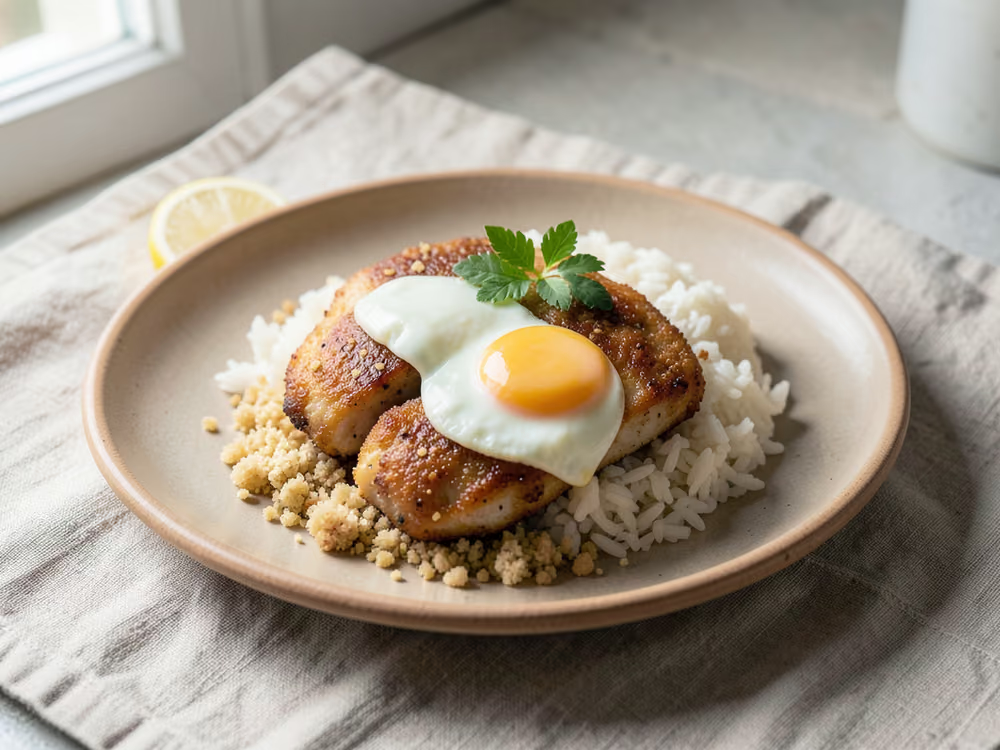
Work one cutlet at a time: press it into the flour and shake off the excess, dip it in the egg so both faces are wet but not dripping, then press it firmly into the panko until no bald patches remain. Bald patches are where oil reaches the meat and the coating lifts. Rest the breaded cutlets on a wire rack for 5 minutes so the crumb grips.
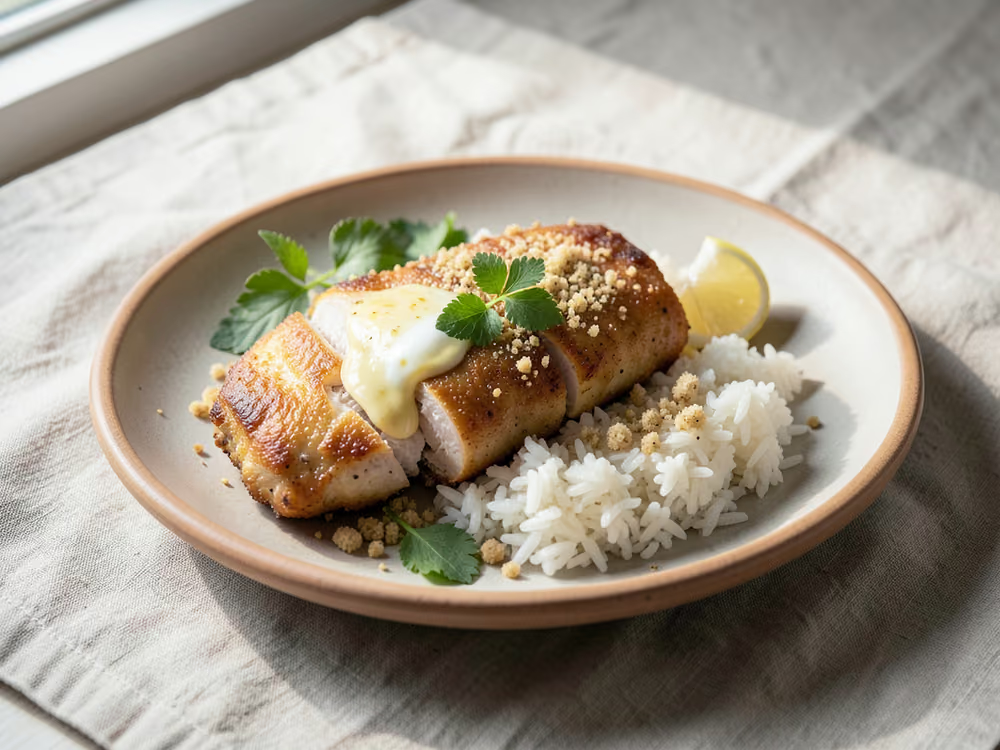
Pour the 500 ml vegetable oil into a deep skillet and heat over medium-high for 4 to 6 minutes, until a panko crumb dropped in sizzles on contact and the thermometer reads 180°C. Oil below 170°C soaks into the crust and makes it heavy; above 190°C it darkens the panko before the chicken is cooked, so stay on the dial.
Slide 2 cutlets into the oil, laying them away from you, and leave them untouched for 3 minutes so the underside sets and browns. Turn once and fry for 3 minutes more, holding the oil at 180°C. Cook no more than 2 at a time; a crowded pan drops in temperature, the crust drinks oil and the result is soggy.
Check the thickest part of a cutlet with an instant-read thermometer: it should read 74°C, the USDA FSIS minimum for poultry, with clear juices and no pink. Lift both cutlets onto a wire rack to drain and let the oil come back to 180°C before frying the remaining 2 pieces the same way.
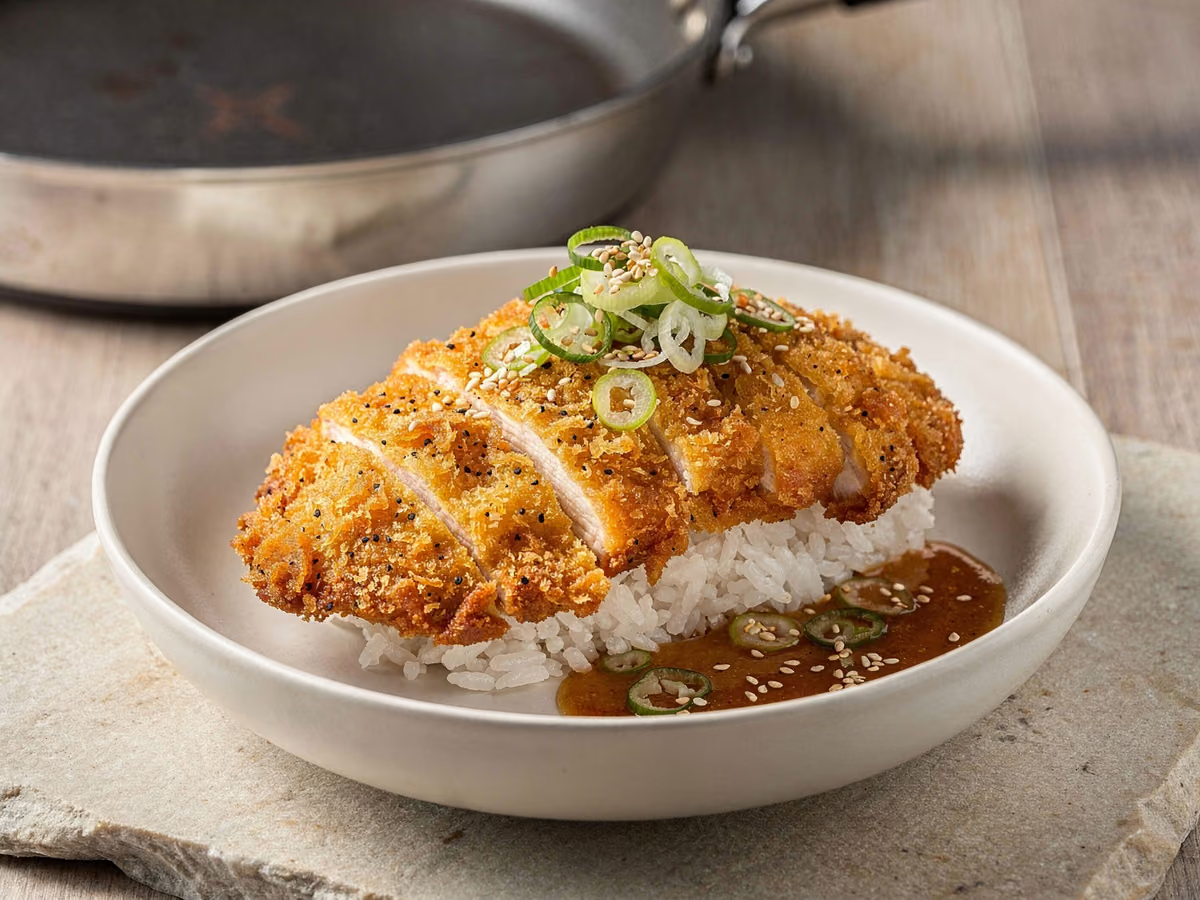
Give the drained cutlets a minute on the rack, then slice each one across into strips about 2 cm wide. A sharp knife and one clean pass per cut keep the crust attached; sawing back and forth over a hot cutlet shatters the panko you spent the fry building.
Divide the 600 g steamed rice between 4 warm bowls, lay a sliced cutlet over each and spoon on the 120 ml katsu sauce, then tuck the 200 g finely shredded cabbage alongside. Eat straight away: the crust is at its best in the first few minutes, and sauce sitting on it softens the panko from the top down.
Why this recipe works
Panko is a coating, not just crumbs: the flakes are baked without a crust, which leaves them dry and full of air, so hot oil drives their moisture out in seconds and the shell crackles instead of turning leathery. The flour layer gives the egg something to grip and the egg locks the panko on, which is why the crust survives the knife. Even thickness matters for a second reason: a level 1 cm cutlet reaches 74°C in about 6 minutes of frying, while a lumpy one browns outside before its centre is safe. Draining on a rack, not paper, lets the underside breathe.
Equipment
- Deep skillet or heavy pot, 20 to 24 cm, for the 500 ml of oil
- Instant-read or frying thermometer
- Three wide shallow dishes for the flour, egg and panko
- Wire rack set over a baking tray
- Meat mallet or the base of a heavy pan
- Plastic wrap for pounding
- Chef's knife and cutting board
- Box grater or mandoline for the cabbage
Kitchen notes
Kitchen notes
- Bread the cutlets up to 4 hours ahead and hold them on a rack in the fridge: a chilled coating sets firm, so it holds together in the oil, and the last stretch before dinner is frying only.
- Keep the oil shallow enough to half-submerge a cutlet and turn it once. A full deep-fry is more oil than the job needs, and a shallow pan is easier to hold at a steady 180°C on a domestic hob.
- Salt the cutlets as they come out of the oil. Salt sticks to hot fat and falls off a cold crust, so a pinch now does the work of a shower later.
- Taste the oil before the first cutlet: drop in a crumb and watch it. Thirty seconds to golden means the temperature is right; a faint, slow sizzle means wait; an instant dark turn means lift the pan off the heat for a minute.
- Shred the cabbage as fine as you can and keep it cold until the last moment. Fine cold shreds taste sweet and crisp against the rich crust, while thick ribbons taste raw and watery.
Common mistakes
- Soggy, oil-heavy crust: the oil slipped under 170°C, usually because the pan was crowded or the heat was set too low. Fry 2 cutlets at a time, confirm 180°C before each batch, and let the oil climb back before the next pieces go in.
- A coating that slides off in the pan: the breasts went in damp, or the breaded cutlets skipped their 5-minute rest on the rack. Blot the meat before seasoning, press the panko on firmly, and give the crumb those 5 minutes to hydrate and grip.
- Dry, chalky chicken under a perfect crust: the cutlets were pounded unevenly, so the thin edges overcooked before the centre reached 74°C. Pound to a level 1 cm, or butterfly any thick breast before coating.
- Pale, patchy coating: the egg layer was too thin, or the panko was pressed on too gently, leaving bald spots for the oil to seep through. Dip, let the excess drip off, then press crumbs on until every surface is covered.
- Greasy results even at the right temperature: the cutlets drained on paper towels, which traps steam against the underside. Use a wire rack over a tray, and salt the cutlets the moment they come out so the seasoning sticks.
Serving suggestions
- Serve in warm bowls, one cutlet and about 150 g of rice per person, with the cabbage piled alongside and the sauce on the table so the crust stays crisp until the first cut.
- A cucumber salad, quick-pickled radish or a lemon wedge adds the sharp note the cabbage alone does not; sliced spring onion works too.
- To drink, iced barley tea, iced green tea or cold sparkling water: something cold and unsweetened against the fried crust.
Variations
- Curry katsu, a different dish: pour a mild Japanese-style curry sauce over the sliced cutlet and rice instead of the katsu sauce. Serve the cutlet on the edge of the plate so only half the crust softens.
- Air-fryer or oven version: brush the breaded cutlets lightly with oil and cook at 200°C for 12 to 15 minutes, turning once, until they read 74°C. The crust is drier and crisper-edged than fried, and the result is lighter rather than rich.
- Katsu sandwich: press a sliced, crisped cutlet into soft white bread with extra katsu sauce and fine cabbage, then cut across. A different way to eat the same cutlet, and the best use for leftovers.
Refrigerator
- RefrigeratorStore leftover fried chicken and rice separately in airtight containers, cooling both within 2 hours of cooking. The chicken keeps for up to 3 days, but treat the rice as a next-day leftover and use it within 1 day, which is the stricter UK food safety guidance for cooked rice.
- ReheatingReheat the chicken on a wire rack over a baking sheet in a 190°C oven for 10 to 12 minutes, until hot and crisp again. Reheat the rice in a covered microwave-safe bowl with a splash of water for 1 to 2 minutes, until steaming hot all the way through, and never reheat it more than once.
- FreezingFreeze the cooked cutlets for up to 2 months: cool them completely, freeze in a single layer on a tray, then bag them. Do not freeze the rice; it turns grainy, and rice is best treated as a next-day-only leftover.
- Make aheadThe cutlets can be breaded up to 4 hours ahead and held on a rack in the fridge, and the cabbage can be shredded the same morning. Fry just before serving, because the crust is never as good reheated, and steam the rice so it is ready as the last batch leaves the oil.
Updated:
How this recipe was developed
- USDA FSIS safe minimum internal temperatures (poultry 74°C, checked here instead of the recipe's 75°C note, which is the same guidance rounded up; reheated leftovers 74°C)
- NYT Cooking, chicken katsu (cutlets pounded thin, dredged in flour, egg and panko, fried at about 175 to 180°C and served with rice, cabbage and katsu sauce)
- The Spruce Eats, katsu sauce (ketchup, Worcestershire sauce and soy sauce as the base of a home-made version)
- UK Government Home Food Fact Checker on cooked rice (cool within 1 hour; keep no more than 1 day in the fridge; reheat once until steaming hot all the way through)
Editorial references are kept internally for verification. This page makes no claim of external certification or professional testing.
Gallery
FAQ
The questions we get asked most
Why did my chicken katsu turn out soggy?
Almost always oil temperature or crowding. Check that the oil reads 180°C before each batch and fry no more than 2 cutlets at a time, then drain on a wire rack rather than paper towels, which traps steam against the underside and undoes the crisping you just paid for.
Can I use chicken thighs instead of breast?
Yes. Use 4 boneless, skinless thighs pounded to 1 cm, fry for 1 to 2 minutes longer per side, and cook to 74°C. Thighs are more forgiving and stay juicy, though the coating sits on their uneven shape a little less neatly.
How do I know when the chicken is fully cooked?
Use an instant-read thermometer in the thickest part: 74°C is the USDA FSIS minimum for poultry, and it is the number this recipe checks against. Without one, cut into the thickest piece and look for white meat and clear juices, never pink; colour alone is a poor signal, which is why the thermometer is the reliable test.
Can I make chicken katsu ahead of time?
Bread the cutlets up to 4 hours ahead and refrigerate them on a rack, then fry and serve the same day. If you must fry early, reheat on a rack in a 190°C oven for 10 to 12 minutes, which brings most of the crispness back.
Can I use frozen shredded cabbage?
Yes, if you thaw it and squeeze it really dry, because frozen shreds go limp and watery otherwise. Canned cabbage stays too soft for this dish, so fresh is worth the two minutes with a knife or grater.
Why is my katsu sauce too thick or too thin?
Brands vary. Thin a heavy sauce with a teaspoon of water, or a few drops of soy sauce for more savour, and reduce a loose one in a small pan for 1 to 2 minutes. Adjust it off the heat and taste before it goes anywhere near the crust.
Can I freeze chicken katsu?
Yes, the cooked cutlets only, for up to 2 months: freeze them in a single layer first, then bag. Thaw overnight in the fridge and reheat in a 190°C oven for 10 to 12 minutes. The rice is the part not to freeze.
Ask KitchenMind about this recipe
Tell it what’s different tonight — it works within the actual recipe.